Tiled fireplace

We always fantasied about having a feature tiled fireplace. We spent a lot of time trying various tiles to find something eye catching and yet classic.And not too homestead chunky stones.

This is the finished result. Cost was around $600 in tiles and materials.

fireplace


Rear deck complete

Long time no update. I guess that comes with living and life and the fact that the build is well and truly over.

But the jobs and external work continues. The rear deck has been completed (well, a few months ago, but hey!)

deskdone0

It was a very long four days with uncle Bob but the savings were huge. I purchased $2,500 in new wood to cover the gaps in my recycled wood from the old house deck. Well worth the salvage effort (but did seem like a lot of hard work at the time in the winter rain).

2014-09-28 14.08.18

The deck is 75% recycled wood which I think is a great result. It is a huge deck and would have cost in the vicinity of $20,000 had I got a professional deck team out.

I must say, drilling and nailing some 4,000-5,000 nails did start to get the better of me towards the end. Sore hands and knees.

IMG_3438

IMG_3440

IMG_3449

IMG_3450

IMG_3452

IMG_3454

IMG_3448


Footpath, crossover and pergola

Chip. Chip. Chip.

That has been the local mantra as we close down the list of to-do jobs. Finally i sorted out the asset protection permit, bond and council permits to destroy the old crossover, put in a new one and replace the footpath that Metricon pulverised during the build. Still not sure why the home owner pays for that, but anyhow. Good luck getting this one removed from your contract. It is around $250 per footpath bay, so it adds up pretty fast if your front becomes as cracked as ours did.

It took me a while to find a concrete company that I was sure would meet the strict local standards – some jobs are rejected and have to be redone.

1127

1128

1129

We also decided on a shading option for the house – now that summer is over! – and went with  a hard structure that I’ll grow grape vines over to keep the house cool. The heat hurt us a few days in summer – especially the west windows. Hopefully the pergola will make a big difference. It would have been easier to do the pergola when I had the landscape team in, but we were a tad slow working out our options. It was only when we looked at awnings and external blinds that we decided we ‘hated’ that look.

1172

1171

Fast running out of jobs; really just some more decking and the planting of all my fruit trees. Those two jobs are fun.

Front deck and side fence complete

We have been busy behind the scenes as we have been painting every fence around the house. We have also painted most of the external of the house. In the meantime I’ve managed to build another side fence to room up the garden a bit more. Again, 100% recycled wood.

It was very fiddly as we had two gates to recycle and install. The hinges and bits were a bit fiddly to line up and one of the gates needed a big angle grind. The gates will be painted with woodlands grey to match the fence.

IMG_3289 IMG_3292

We also completed the first deck – with uncle Bob’s help – at the front of the house. It was a little bit larger than I first imagined. It has ended up around 10 square metres!

Total cost was $88 for some brackets, bolts, nails, drill bit etc. It took a day to frame it all up and a day to cut the wood, line it all up, and nail. It was a little tedious nailing the deck as I was trying to find the right offcut lengths for each piece to minimise wastage as I have another larger deck to do out the back. But this was a great practice run!

First task was to dig out the sand to make way for the formwork. This was around 20 wheel barrows of sand that I’ll use out the back. Then we added support pieces to all the walls using very large bolts. The wood is all from an old pergola. We managed to get away with only two stumps as we had lots of brickwork to hang from. We also boxed up the doorway.

IMG_3254

Then we laid the bearers and joists. We kept the joists 400mm apart so I could match up the old merbau holes. It was a little fiddly but I think we got around 85% of the holes to match up. Very happy with that.

IMG_3270

IMG_3269

IMG_3280

And the finished product. As you can see it needs a good sand and stain. Ignore the stool and plant, I was just having a relax and picking some caterpillars from the orange tree.

I will need to punch the nail heads then I’ll grab a belt sander (40 grit) and take her back to old. The timber is only seven years old so has plenty of life. I will then coat with a wood stain that enhances the merbau red without needing to apply oil every six months.

IMG_3288

IMG_3285

IMG_3283

Fence me in

With the landscapers packed up, I can now focus on closing our block to the street. We have lots of lovely well wishes in our area, but I do like a tiny bit of privacy that you get with a front fence.

I love using the old and finding a second use for it. I actually cut the old fence from the old house before demolition and stored it at the rear of the block.

It was a hard job to cut the fence off at the bottom of the posts in the depths of winter. It was an 8 degree day and I remember the rain and hail. I was numb by the time we finished. I remember grumbling a lot about the enormity of the recycling task.

Fast forward a year and I’m thrilled that these fence panels made putting up the new fence easy – and cheap. I was going to use timber stirrups for the fence, but decided that the weight of the fence may be too much. Instead, I decided to get fresh posts and sink them nice and deep so the fence will last at least a few years before it starts to wobble.

The new fence has cost $220. That included five 2.5 metre treated pine posts, 10 bags of concrete, fence screws and some larger bugle screws.

Here are just a few of the old fence panels cut into 2 – 3 metre lengths.

IMG_3154

The posts set and resting with some woodwork to keep them exactly level

IMG_3156

More supports. You can never have too many support beams!IMG_3159

Then we cut n pasted the fence pieces to the posts.IMG_3184

A lick of coat later and we have a brand new fence.

IMG_3195

Hard to believe it is the same fence. Very happy.

Let there be lights

This is a bit embarrassing but we’ve been the house for around 5 months and have kept finding excuses to not put up the new lights. We have been trying to get all of our lighting jobs organised so we could batch the job with our electrician friend.

We’ve been collecting our dream lights for a year as they became available or they went on sale.  We have more lights to go but we really wanted to start the journey. Then there was a four month delay with one of the lights coming across the oceans from far away.

Recent jobs:

  • 3 pendants over the kitchen bench
  • LEDs column lights outside
  • Stairwell hangers
  • Fan in lounge room
  • Hanging dining room light

It makes such a difference. It really closes in the room and reduces the ‘barn’ feel. Now the spaces feel a lot more intimate.

IMG_3147IMG_3162

IMG_3152IMG_3153

IMG_3125

IMG_3128

Landscaping – all done!

I’ve had a lovely couple of weeks in the garden helping out the landscapers where I could. I also met a lovely fellow M builder in my street. He’s a top bloke and avid blog reader. So lovely to share war stories with someone who has done a KDR. It is a hard, long road. Well worth it, but very, very difficult.

The landscaping is all completed. Jason – the designer – is an absolute legend. I love his plan. I had some doubts but I’m glad he walked me through the logic and convinced me. Sometimes you need to move out of your comfort zone!

And Tony and the crew have done a stellar job of the landscape. It was a slightly larger job than I imagined, but the boys smashed it out in very few working days. I’d recommend them in a second.

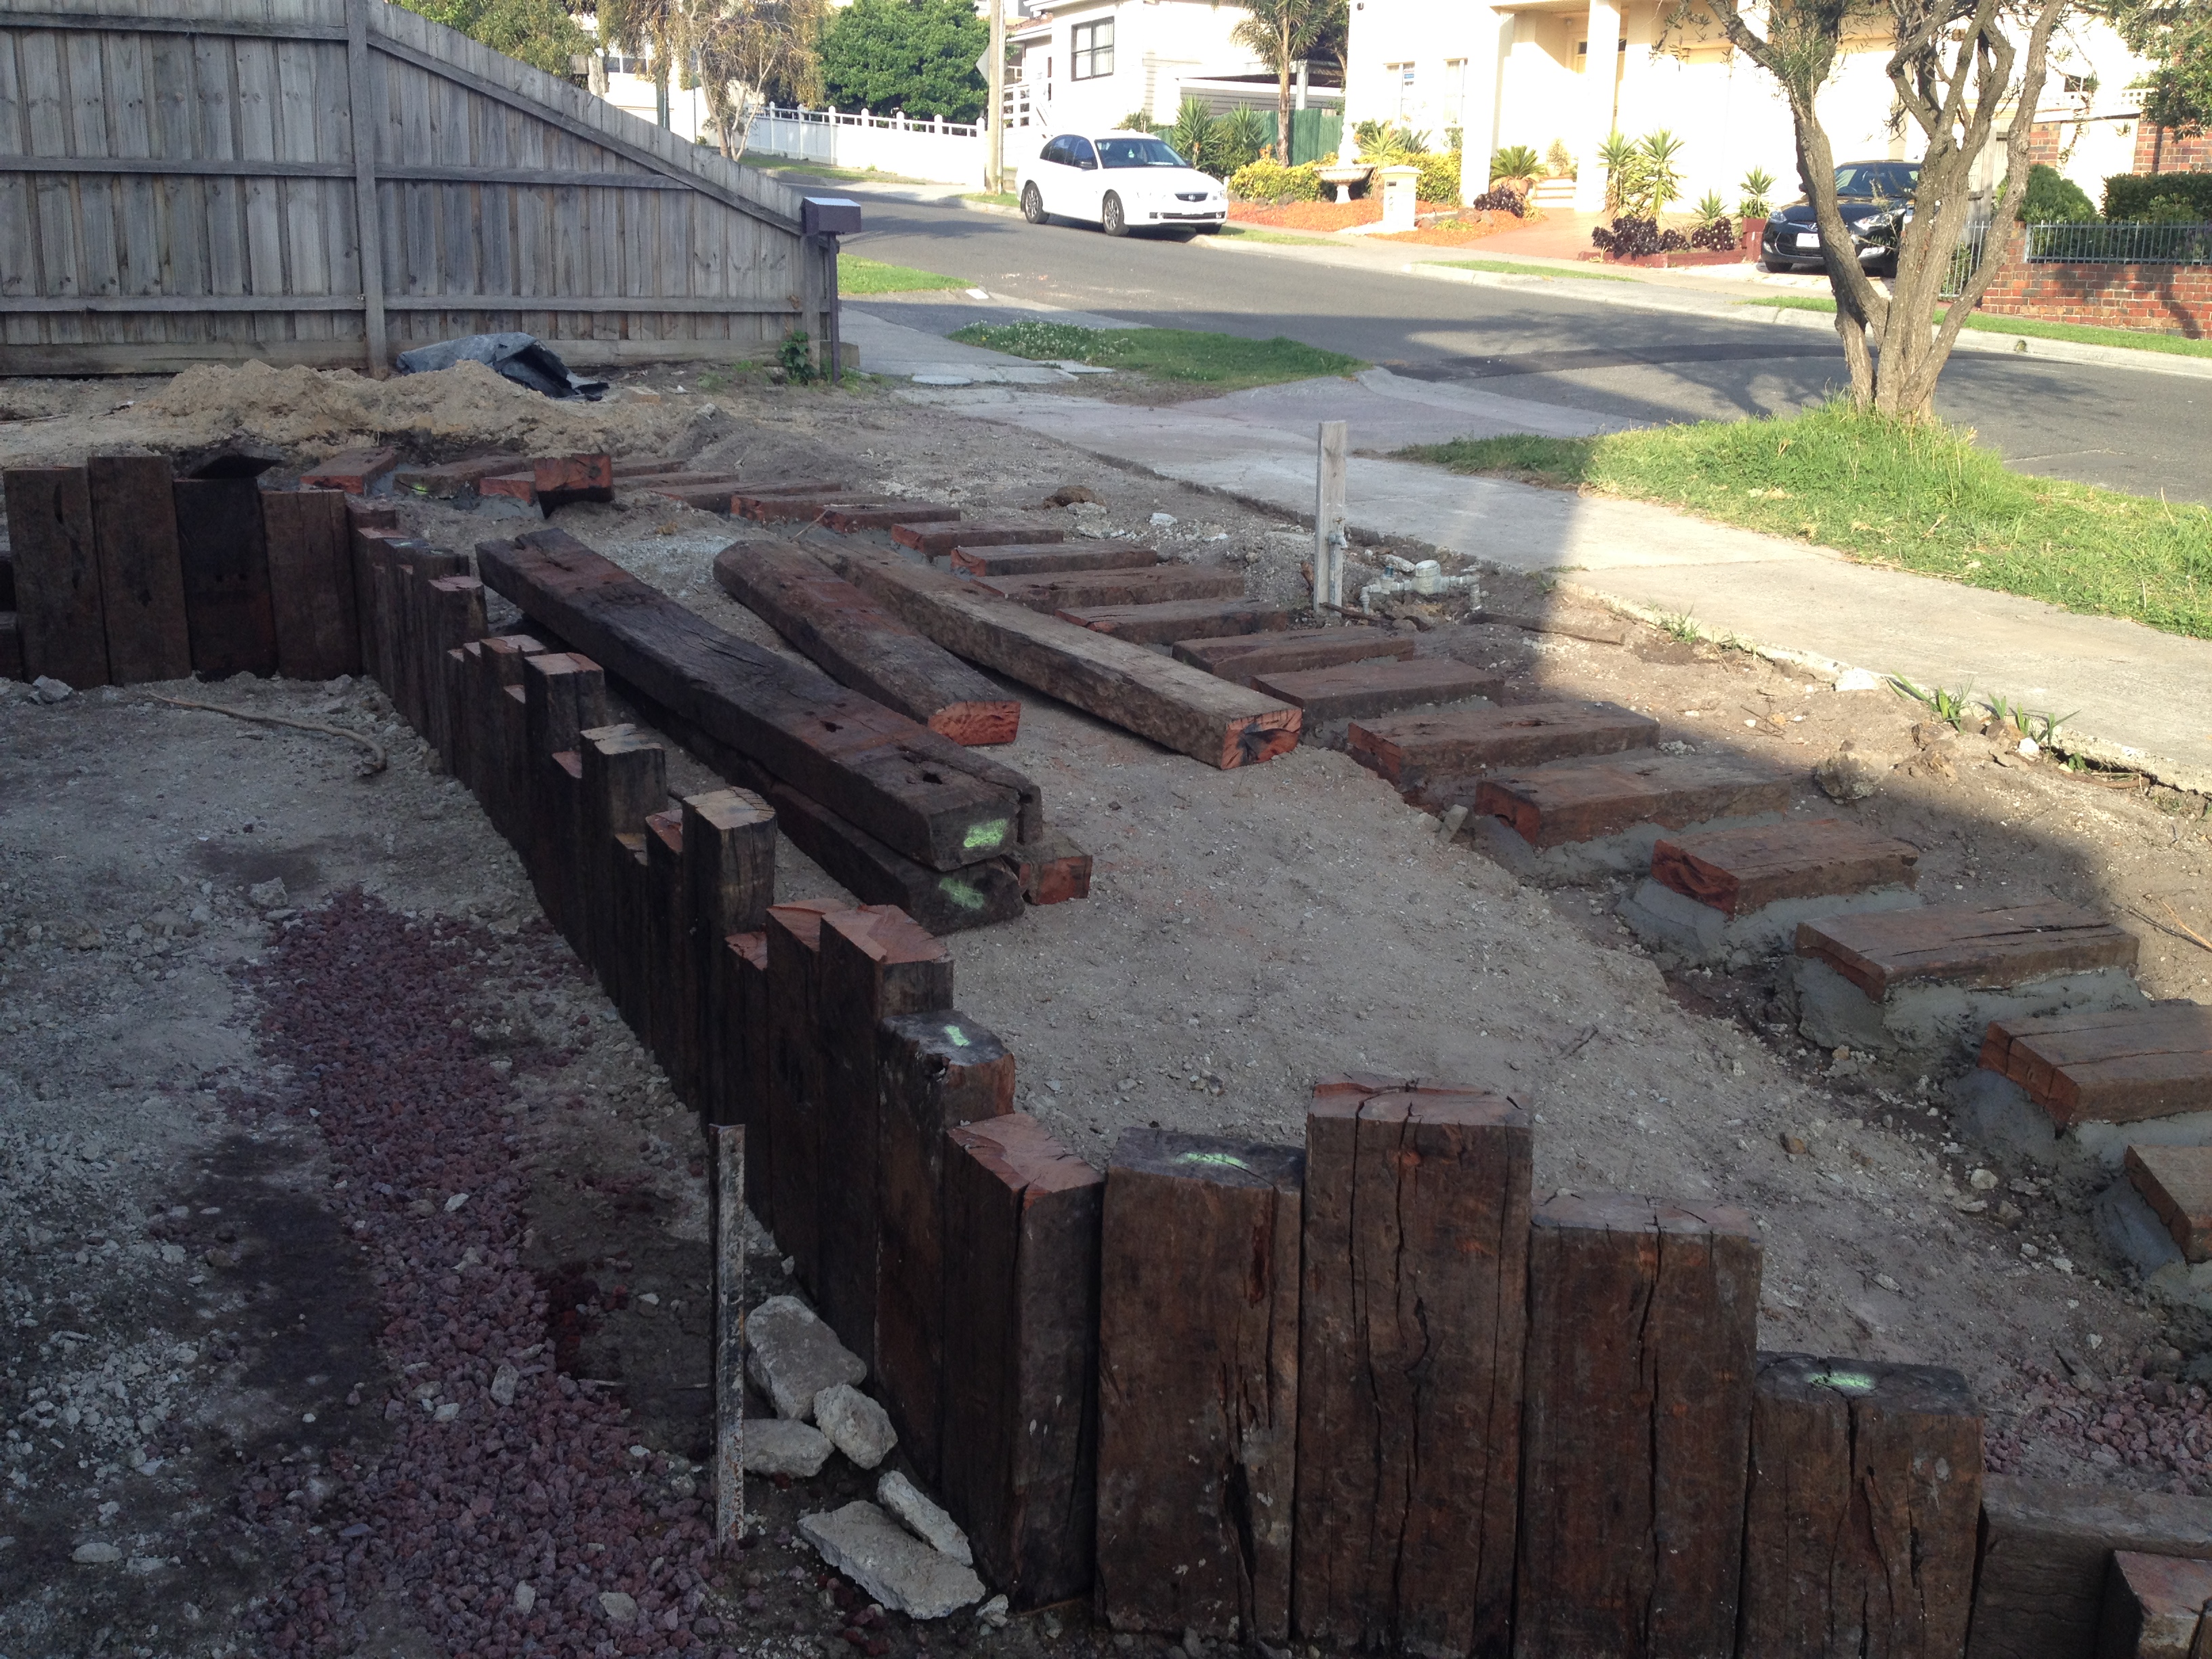
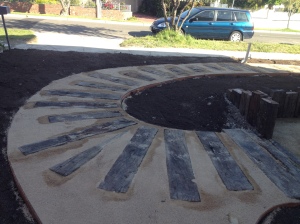
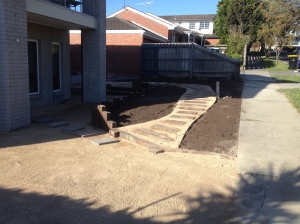
I love my sleeper garden footpath at the front that will become a jungle secret garden for the kids – and will be filled with wild berries and nature’s most naughty fruits.

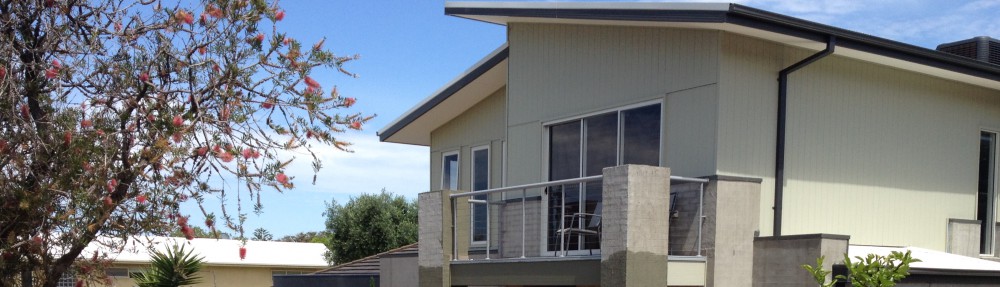
It is hard to see now, but once the trees are in, and the front fence installed, it will be very private.

IMG_3115


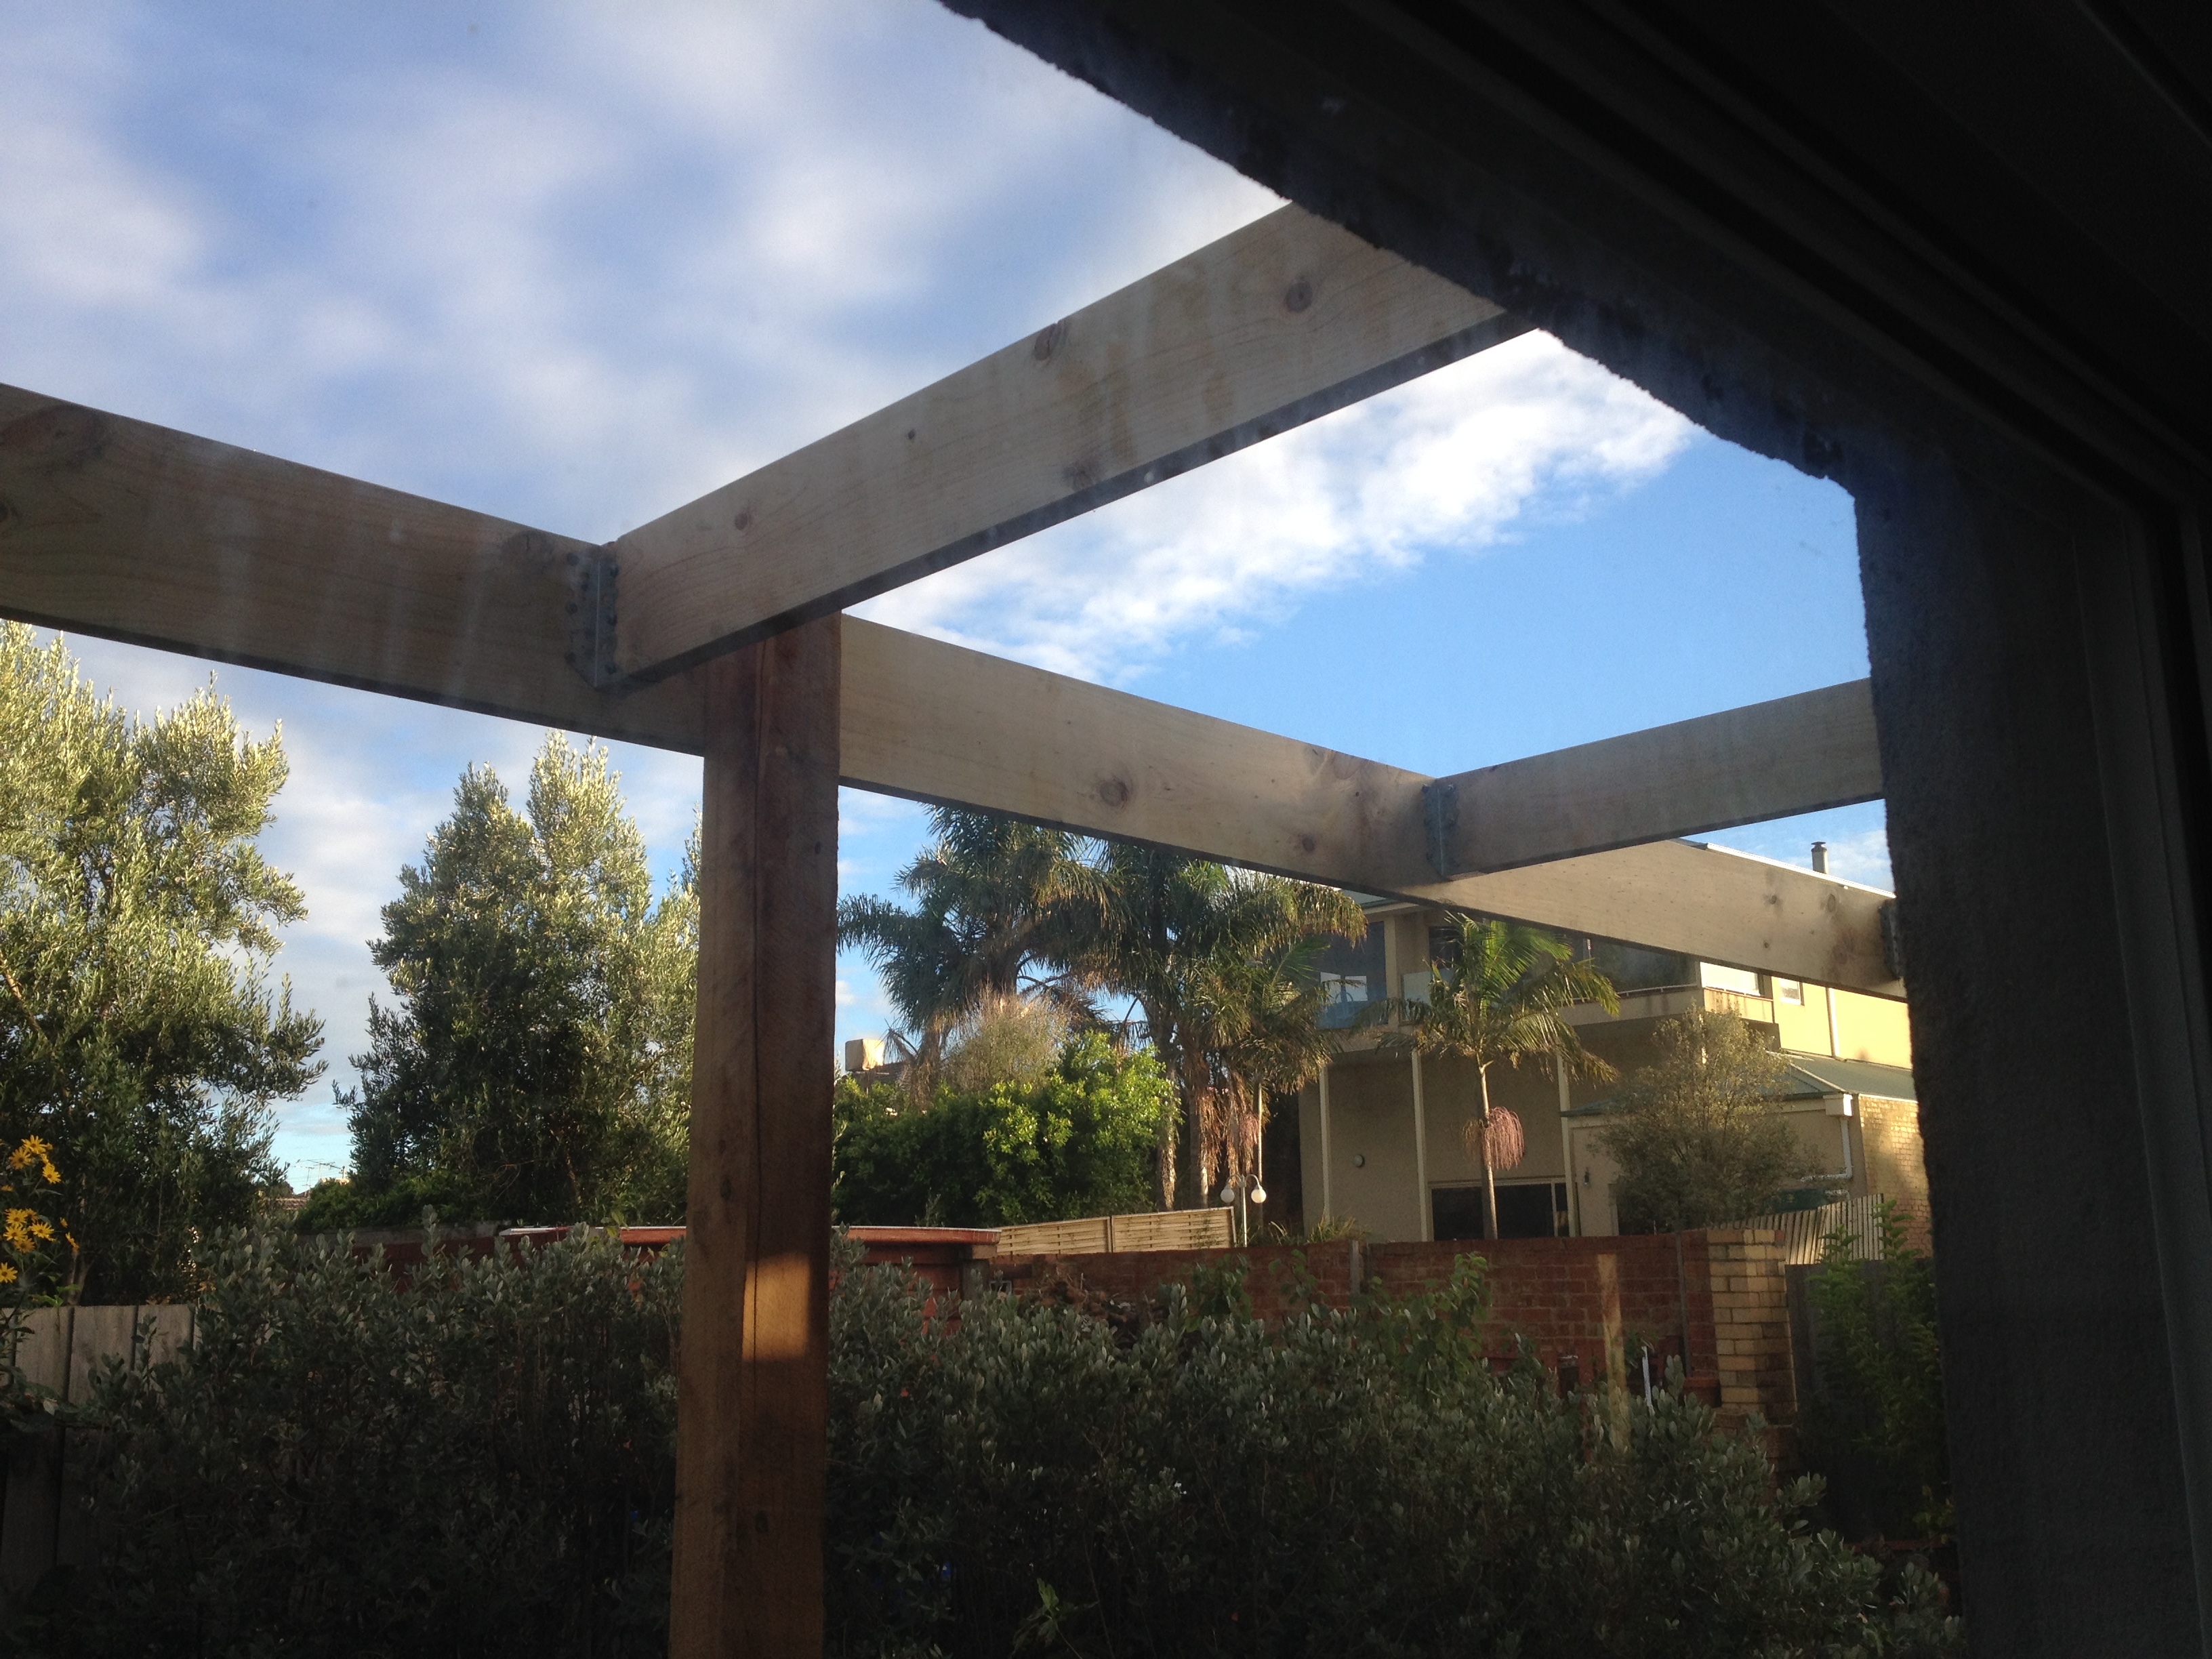
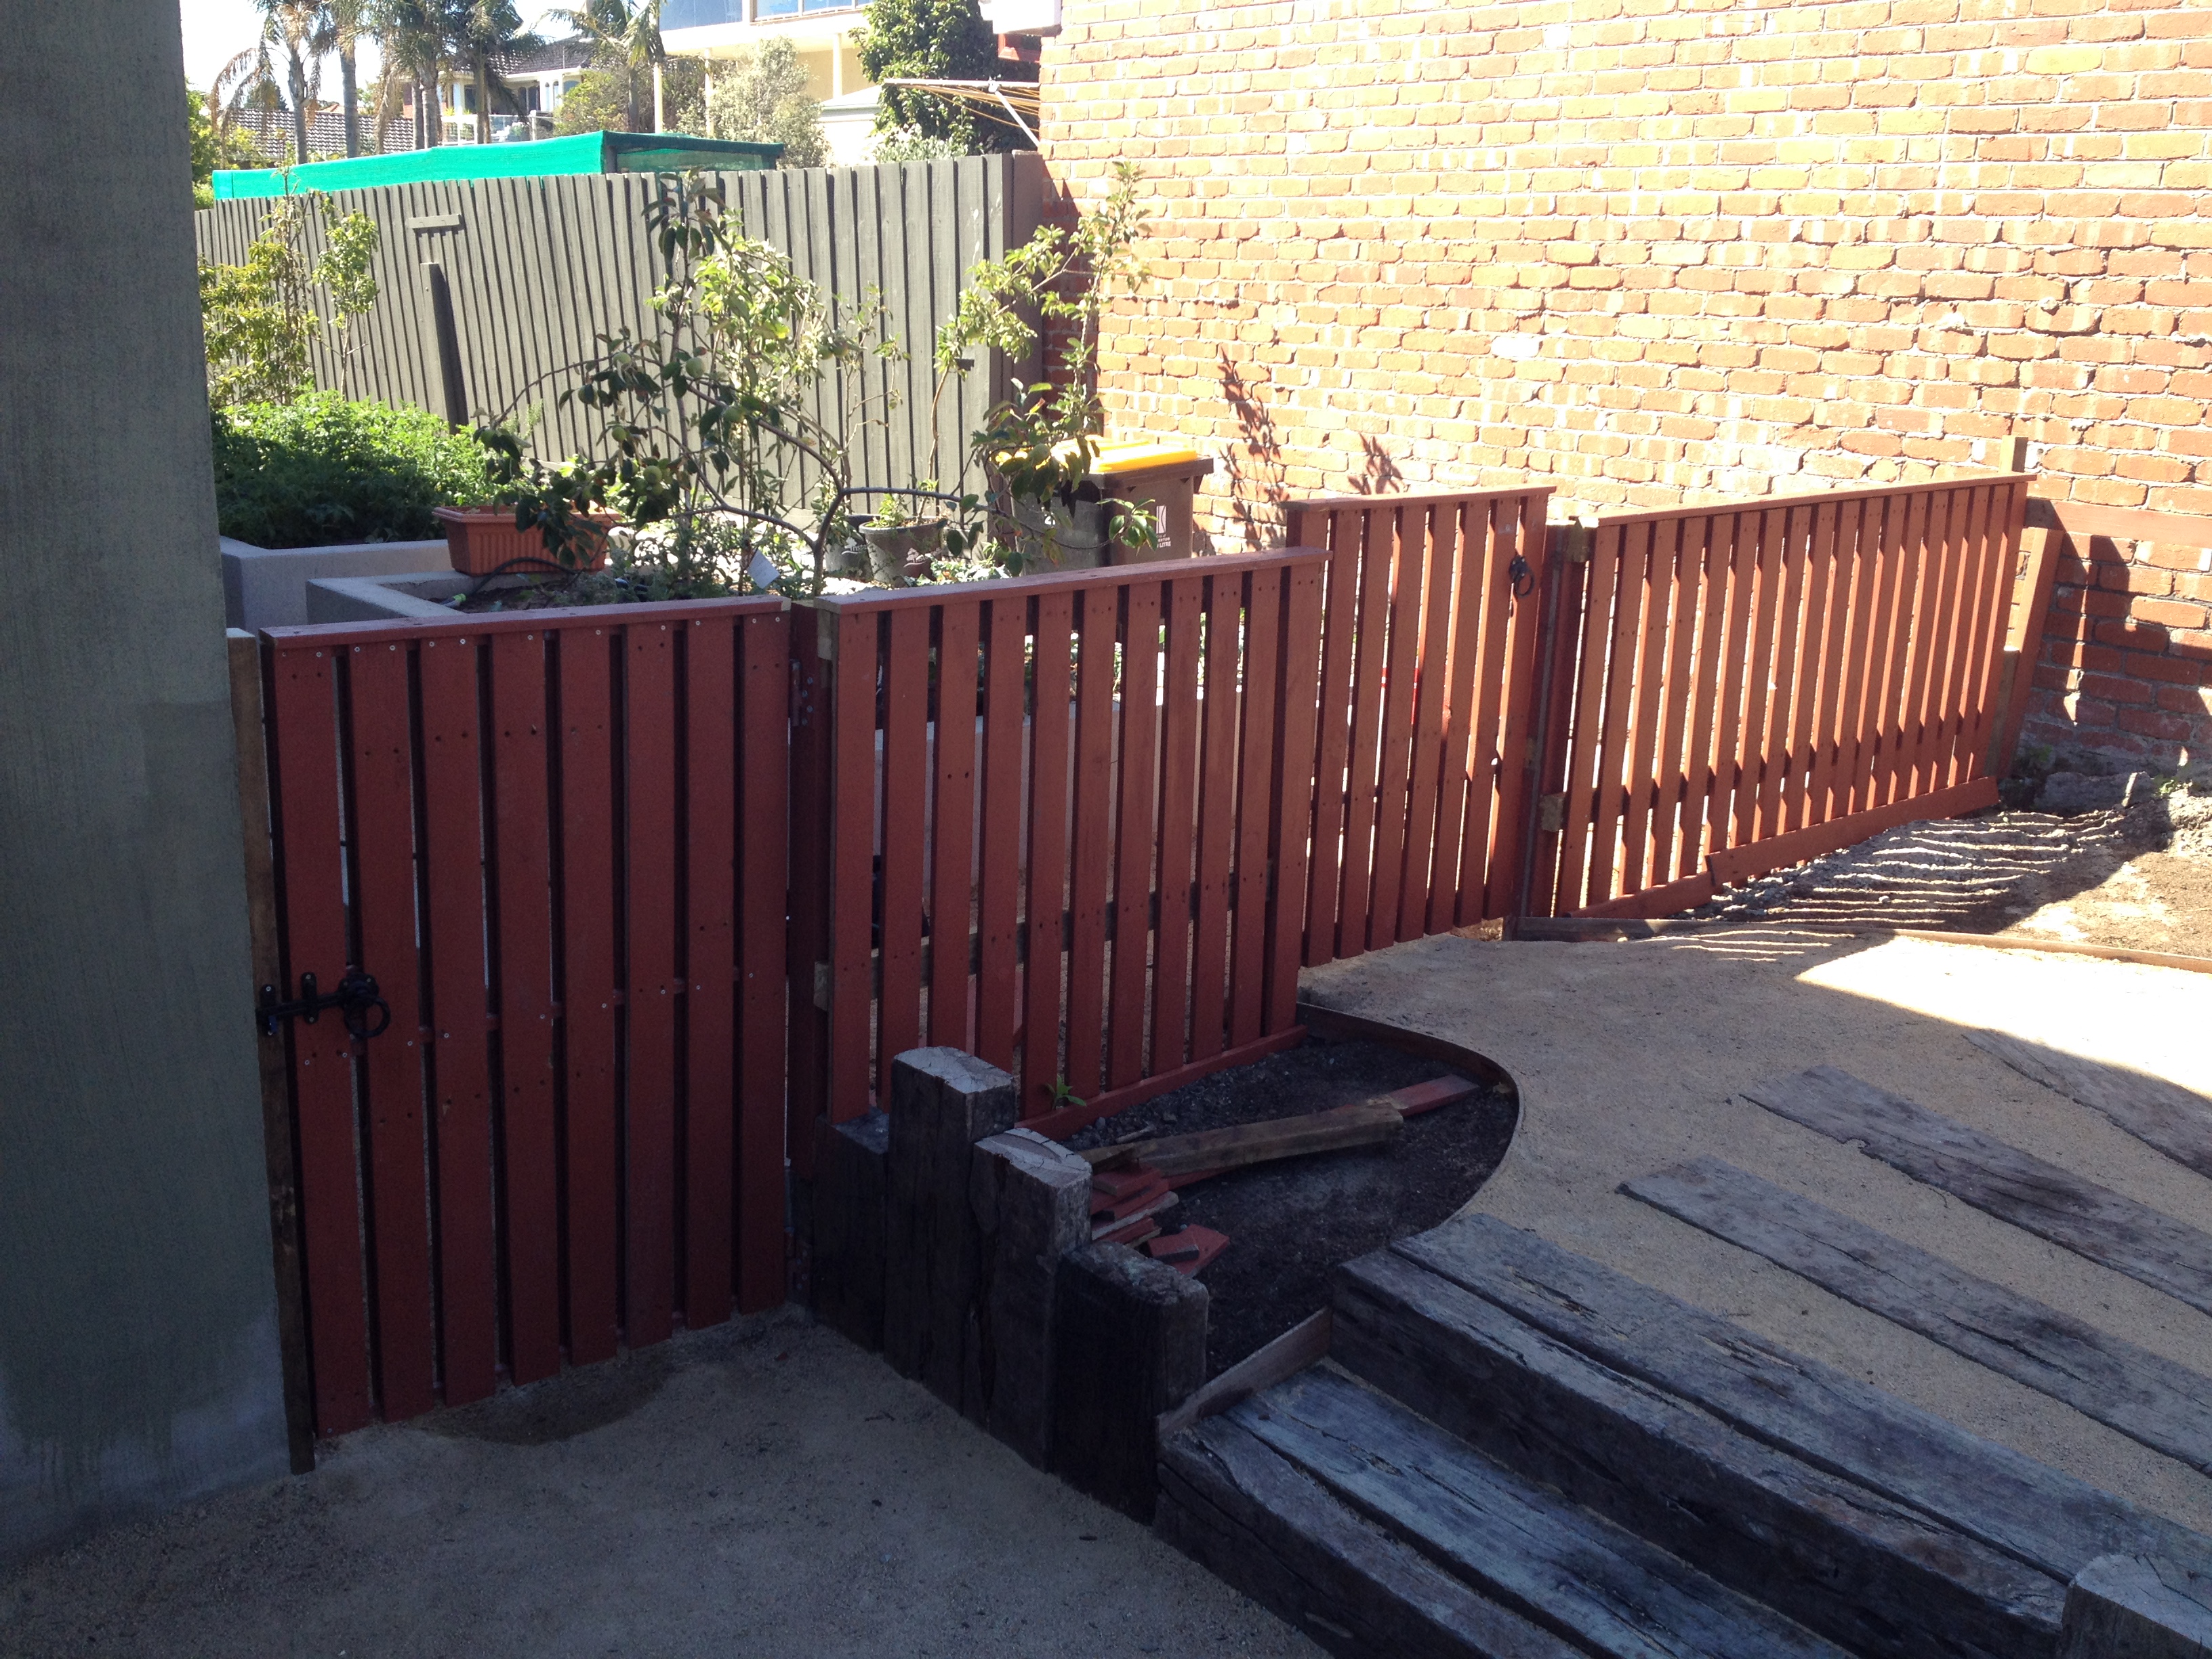
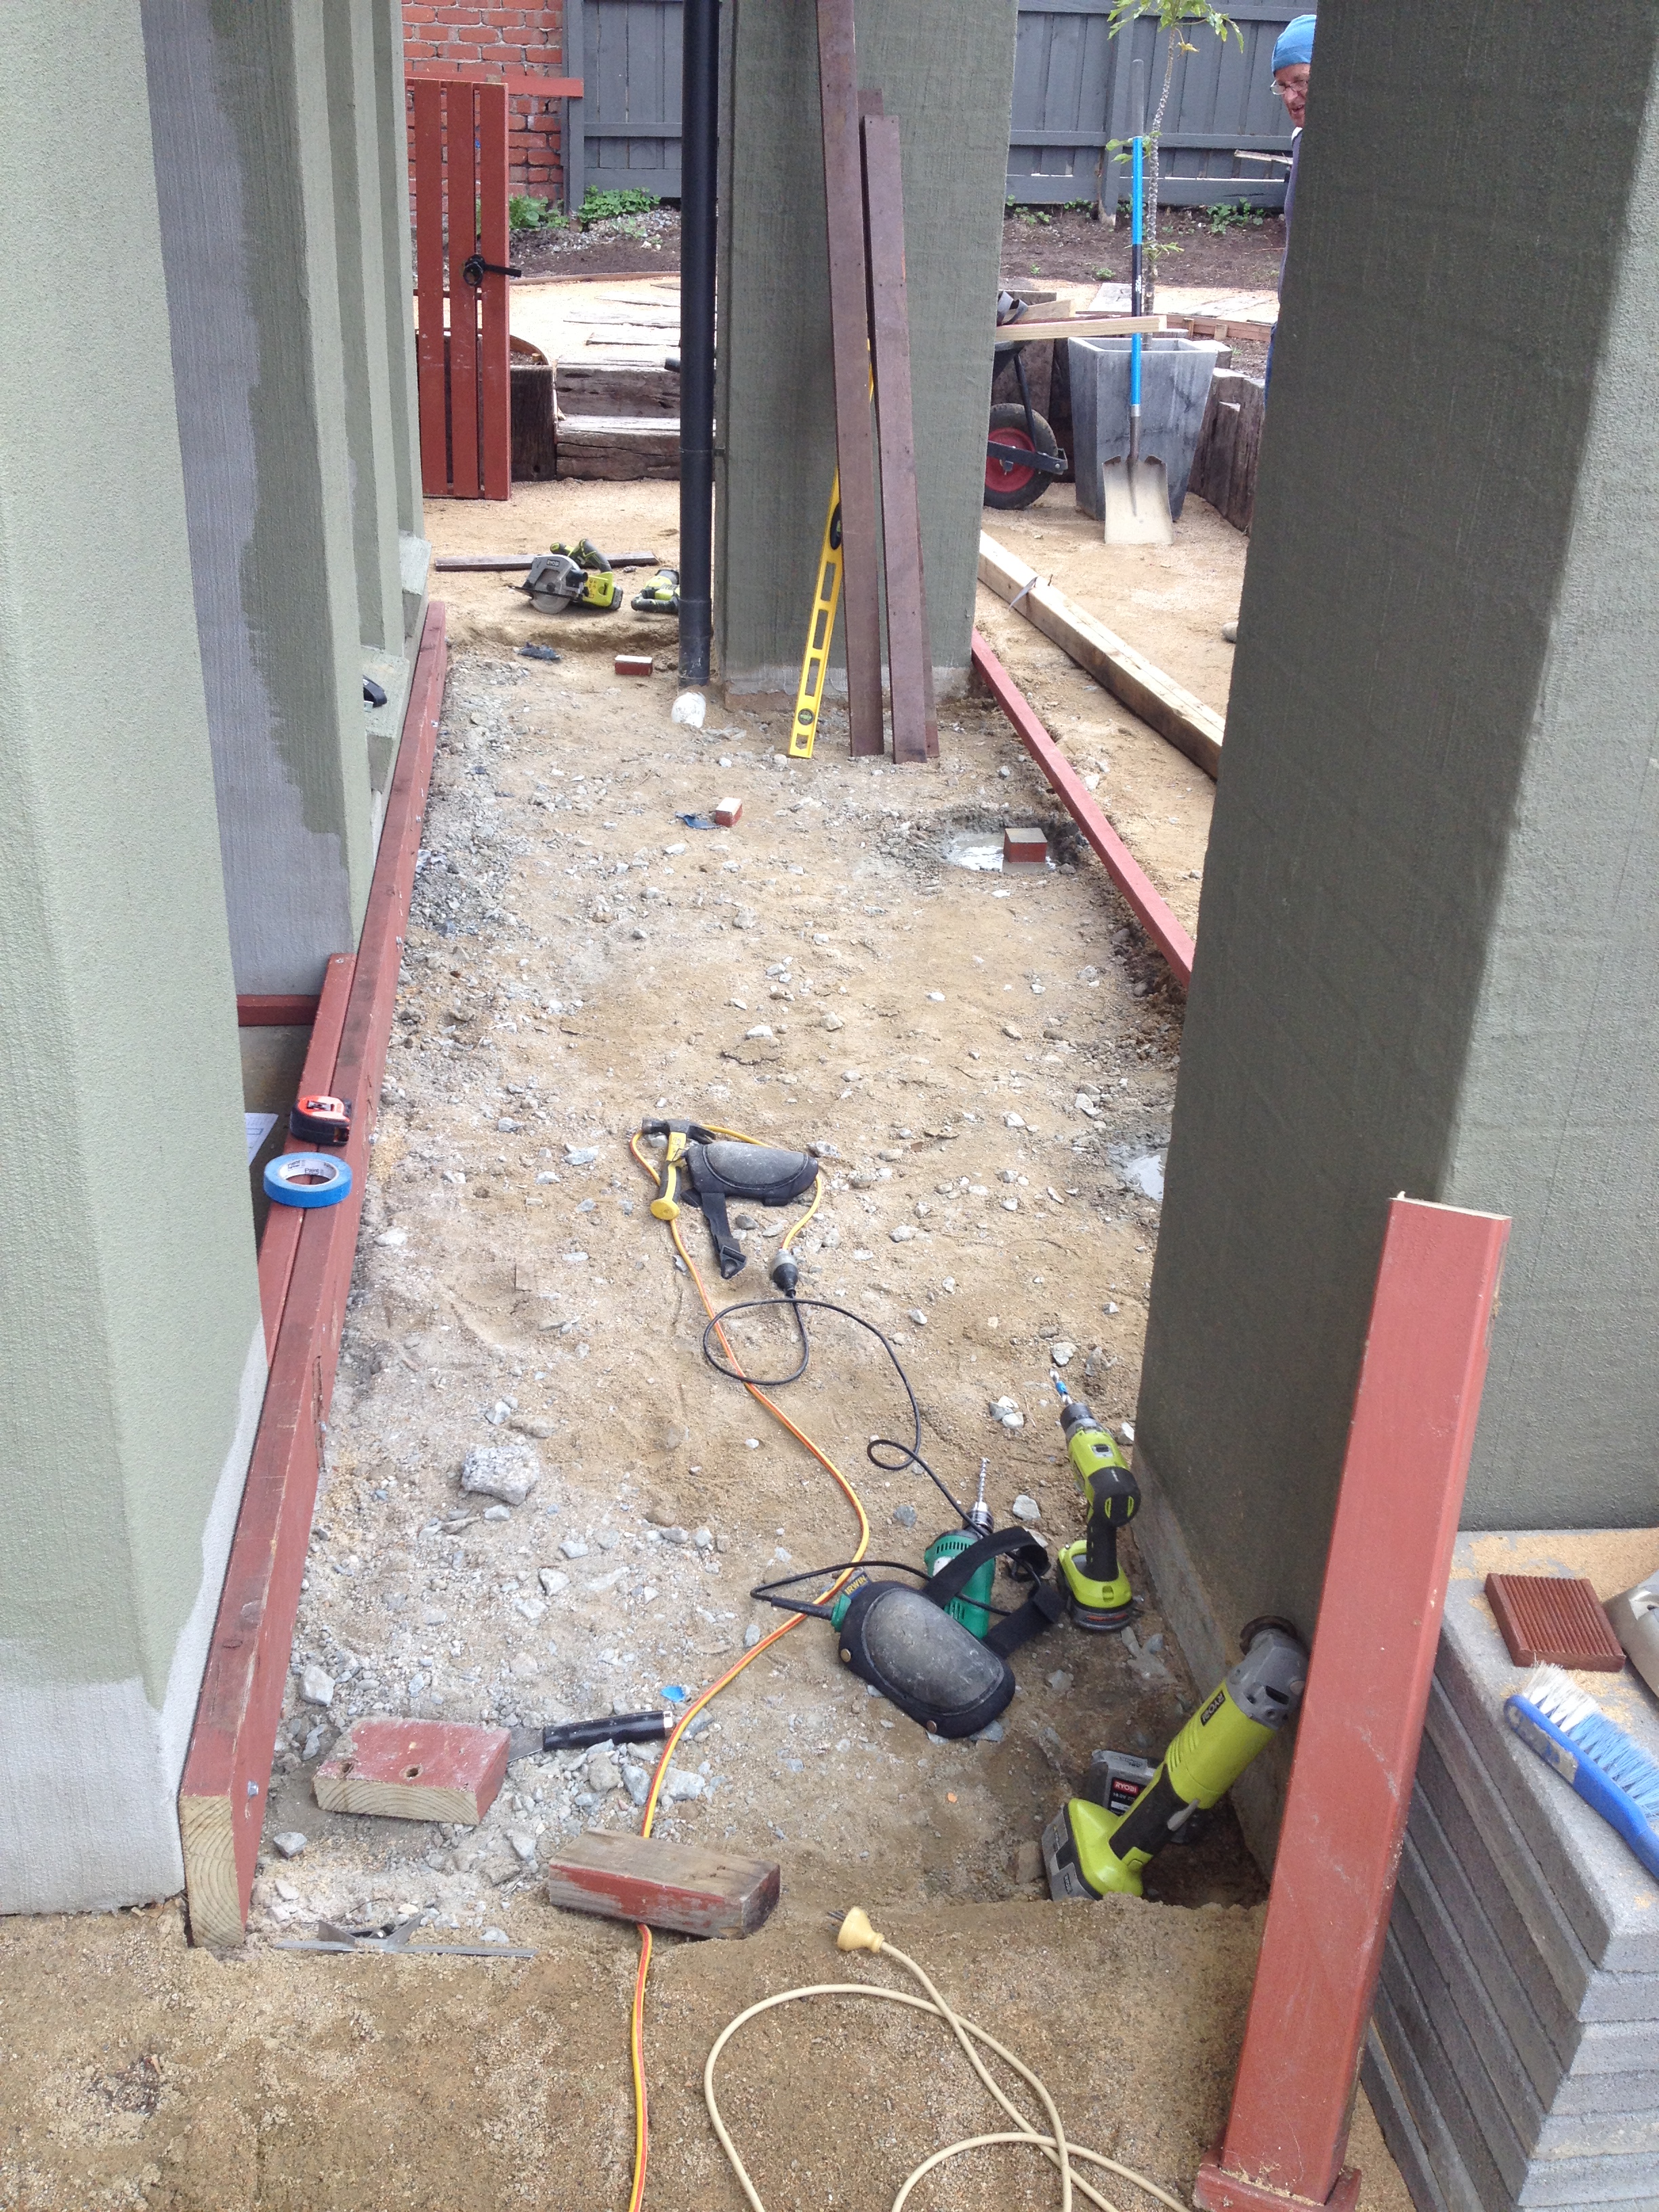
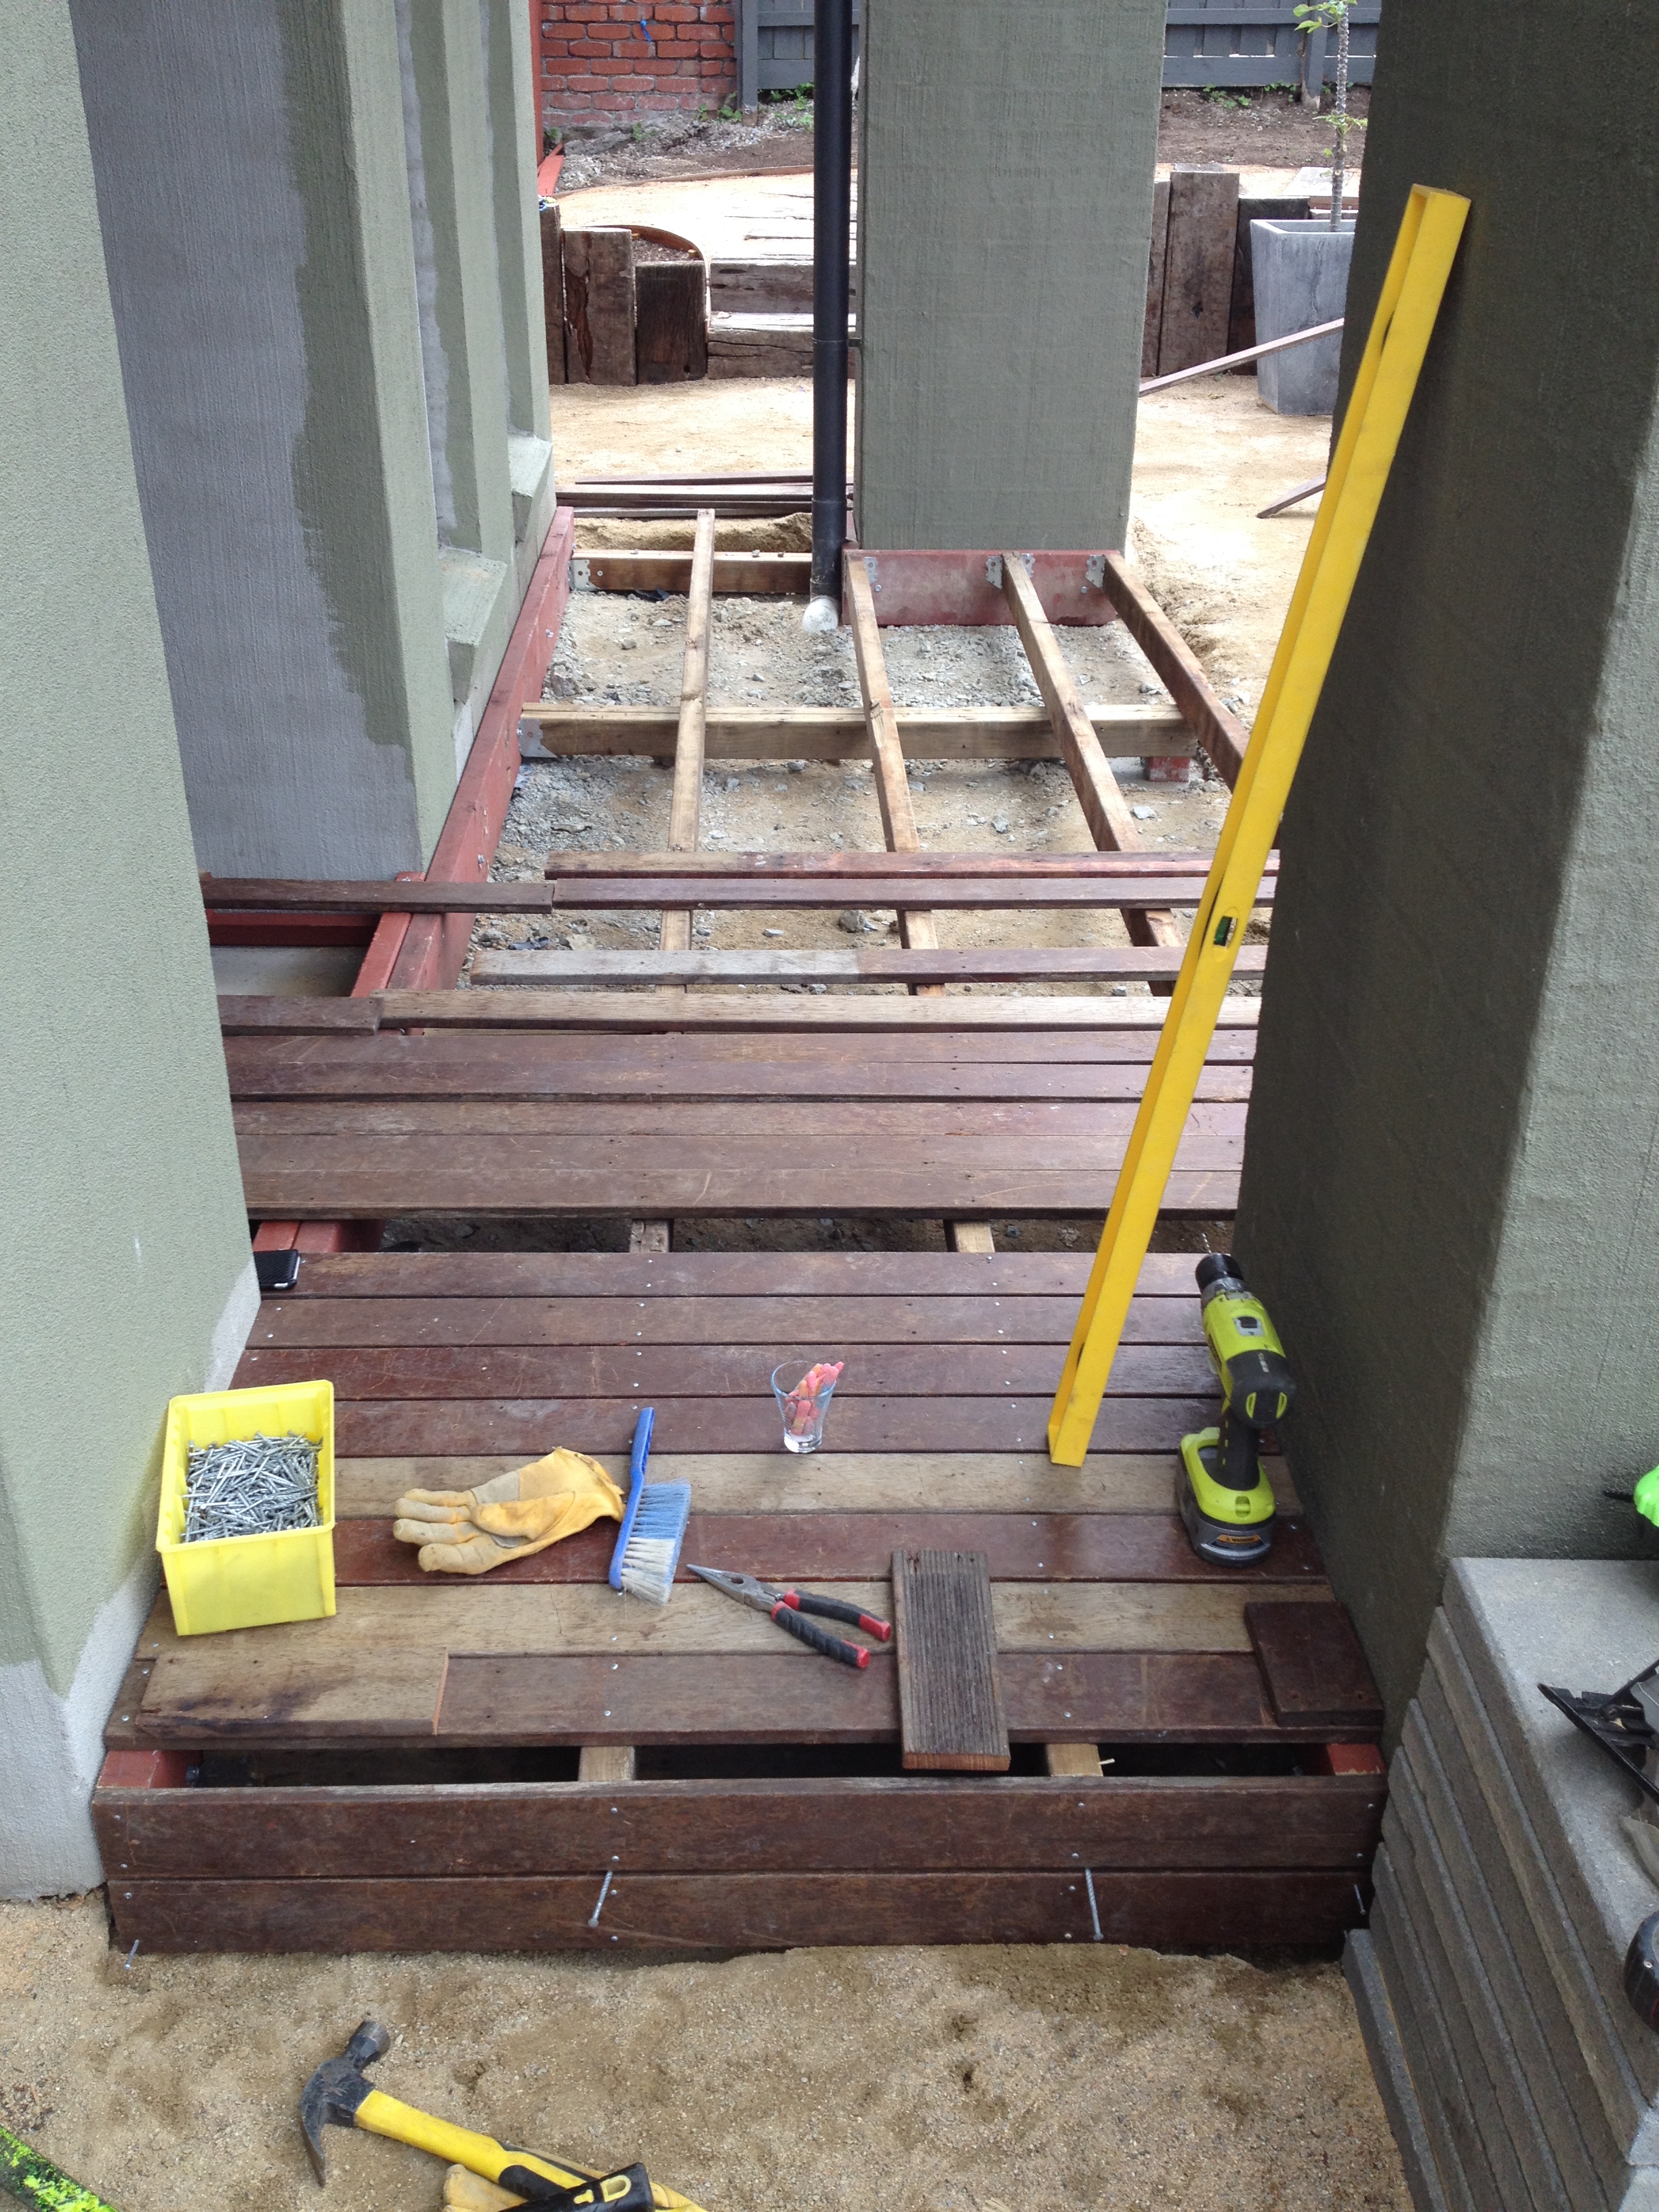
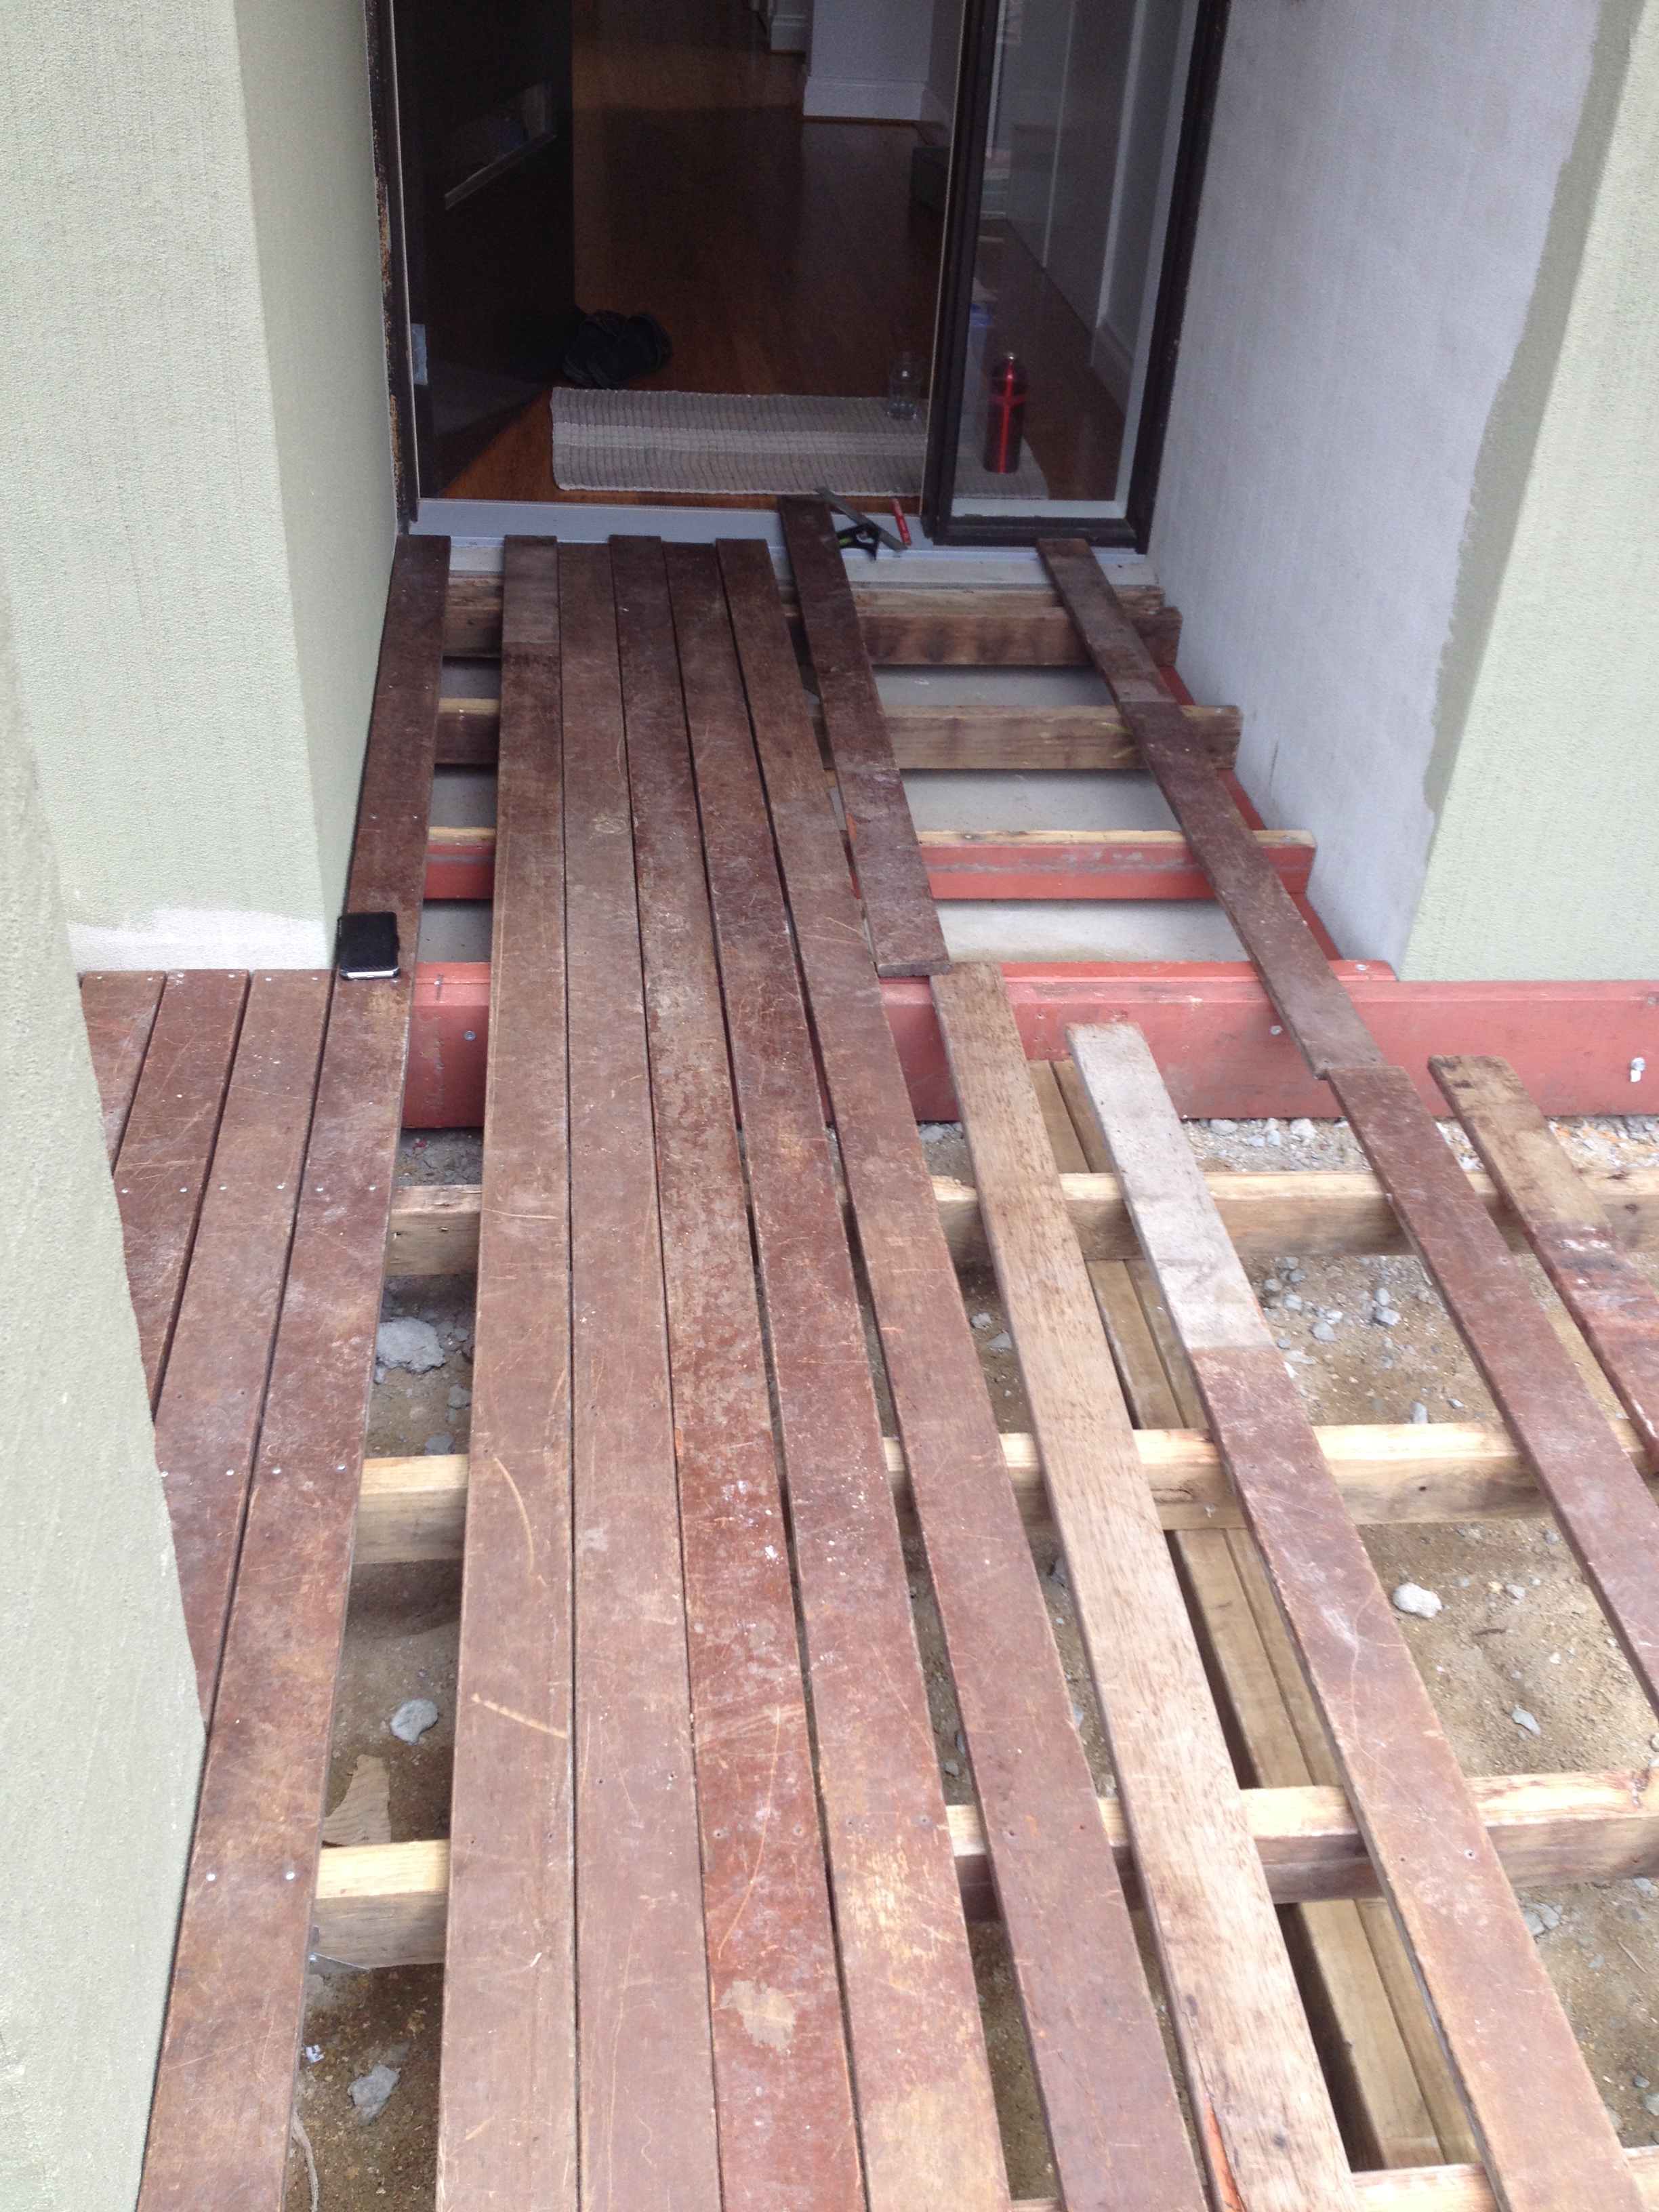
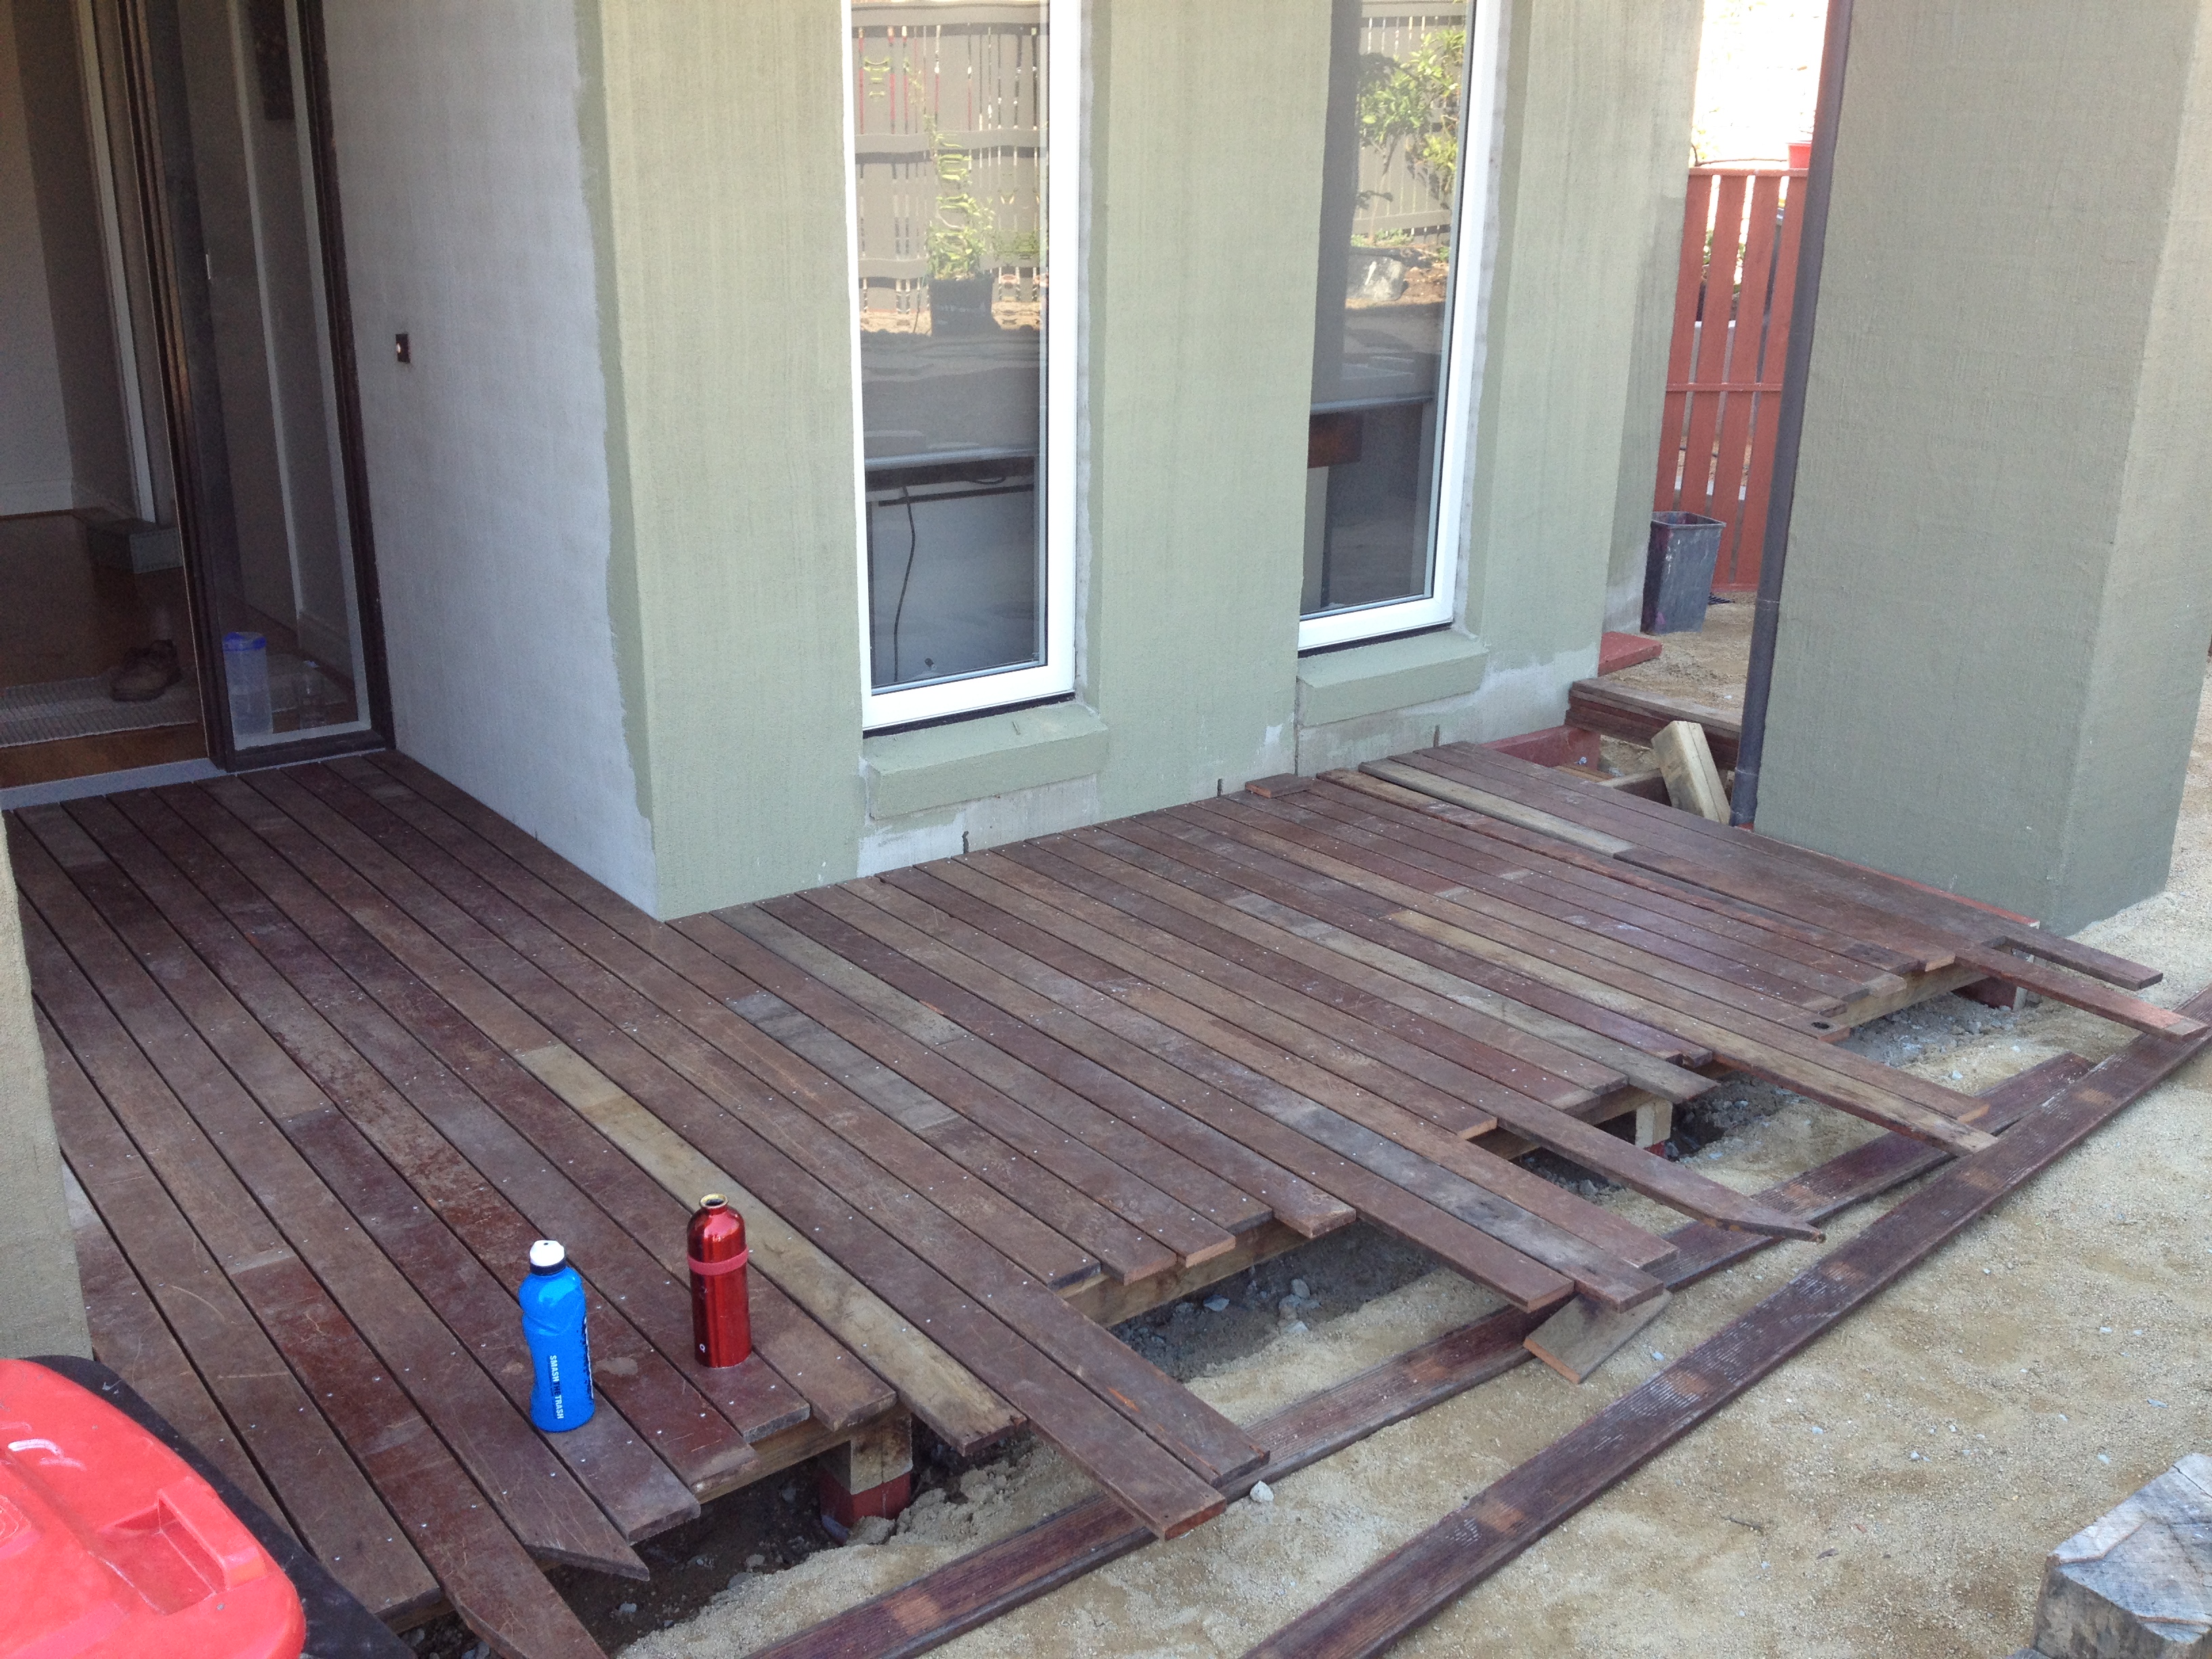
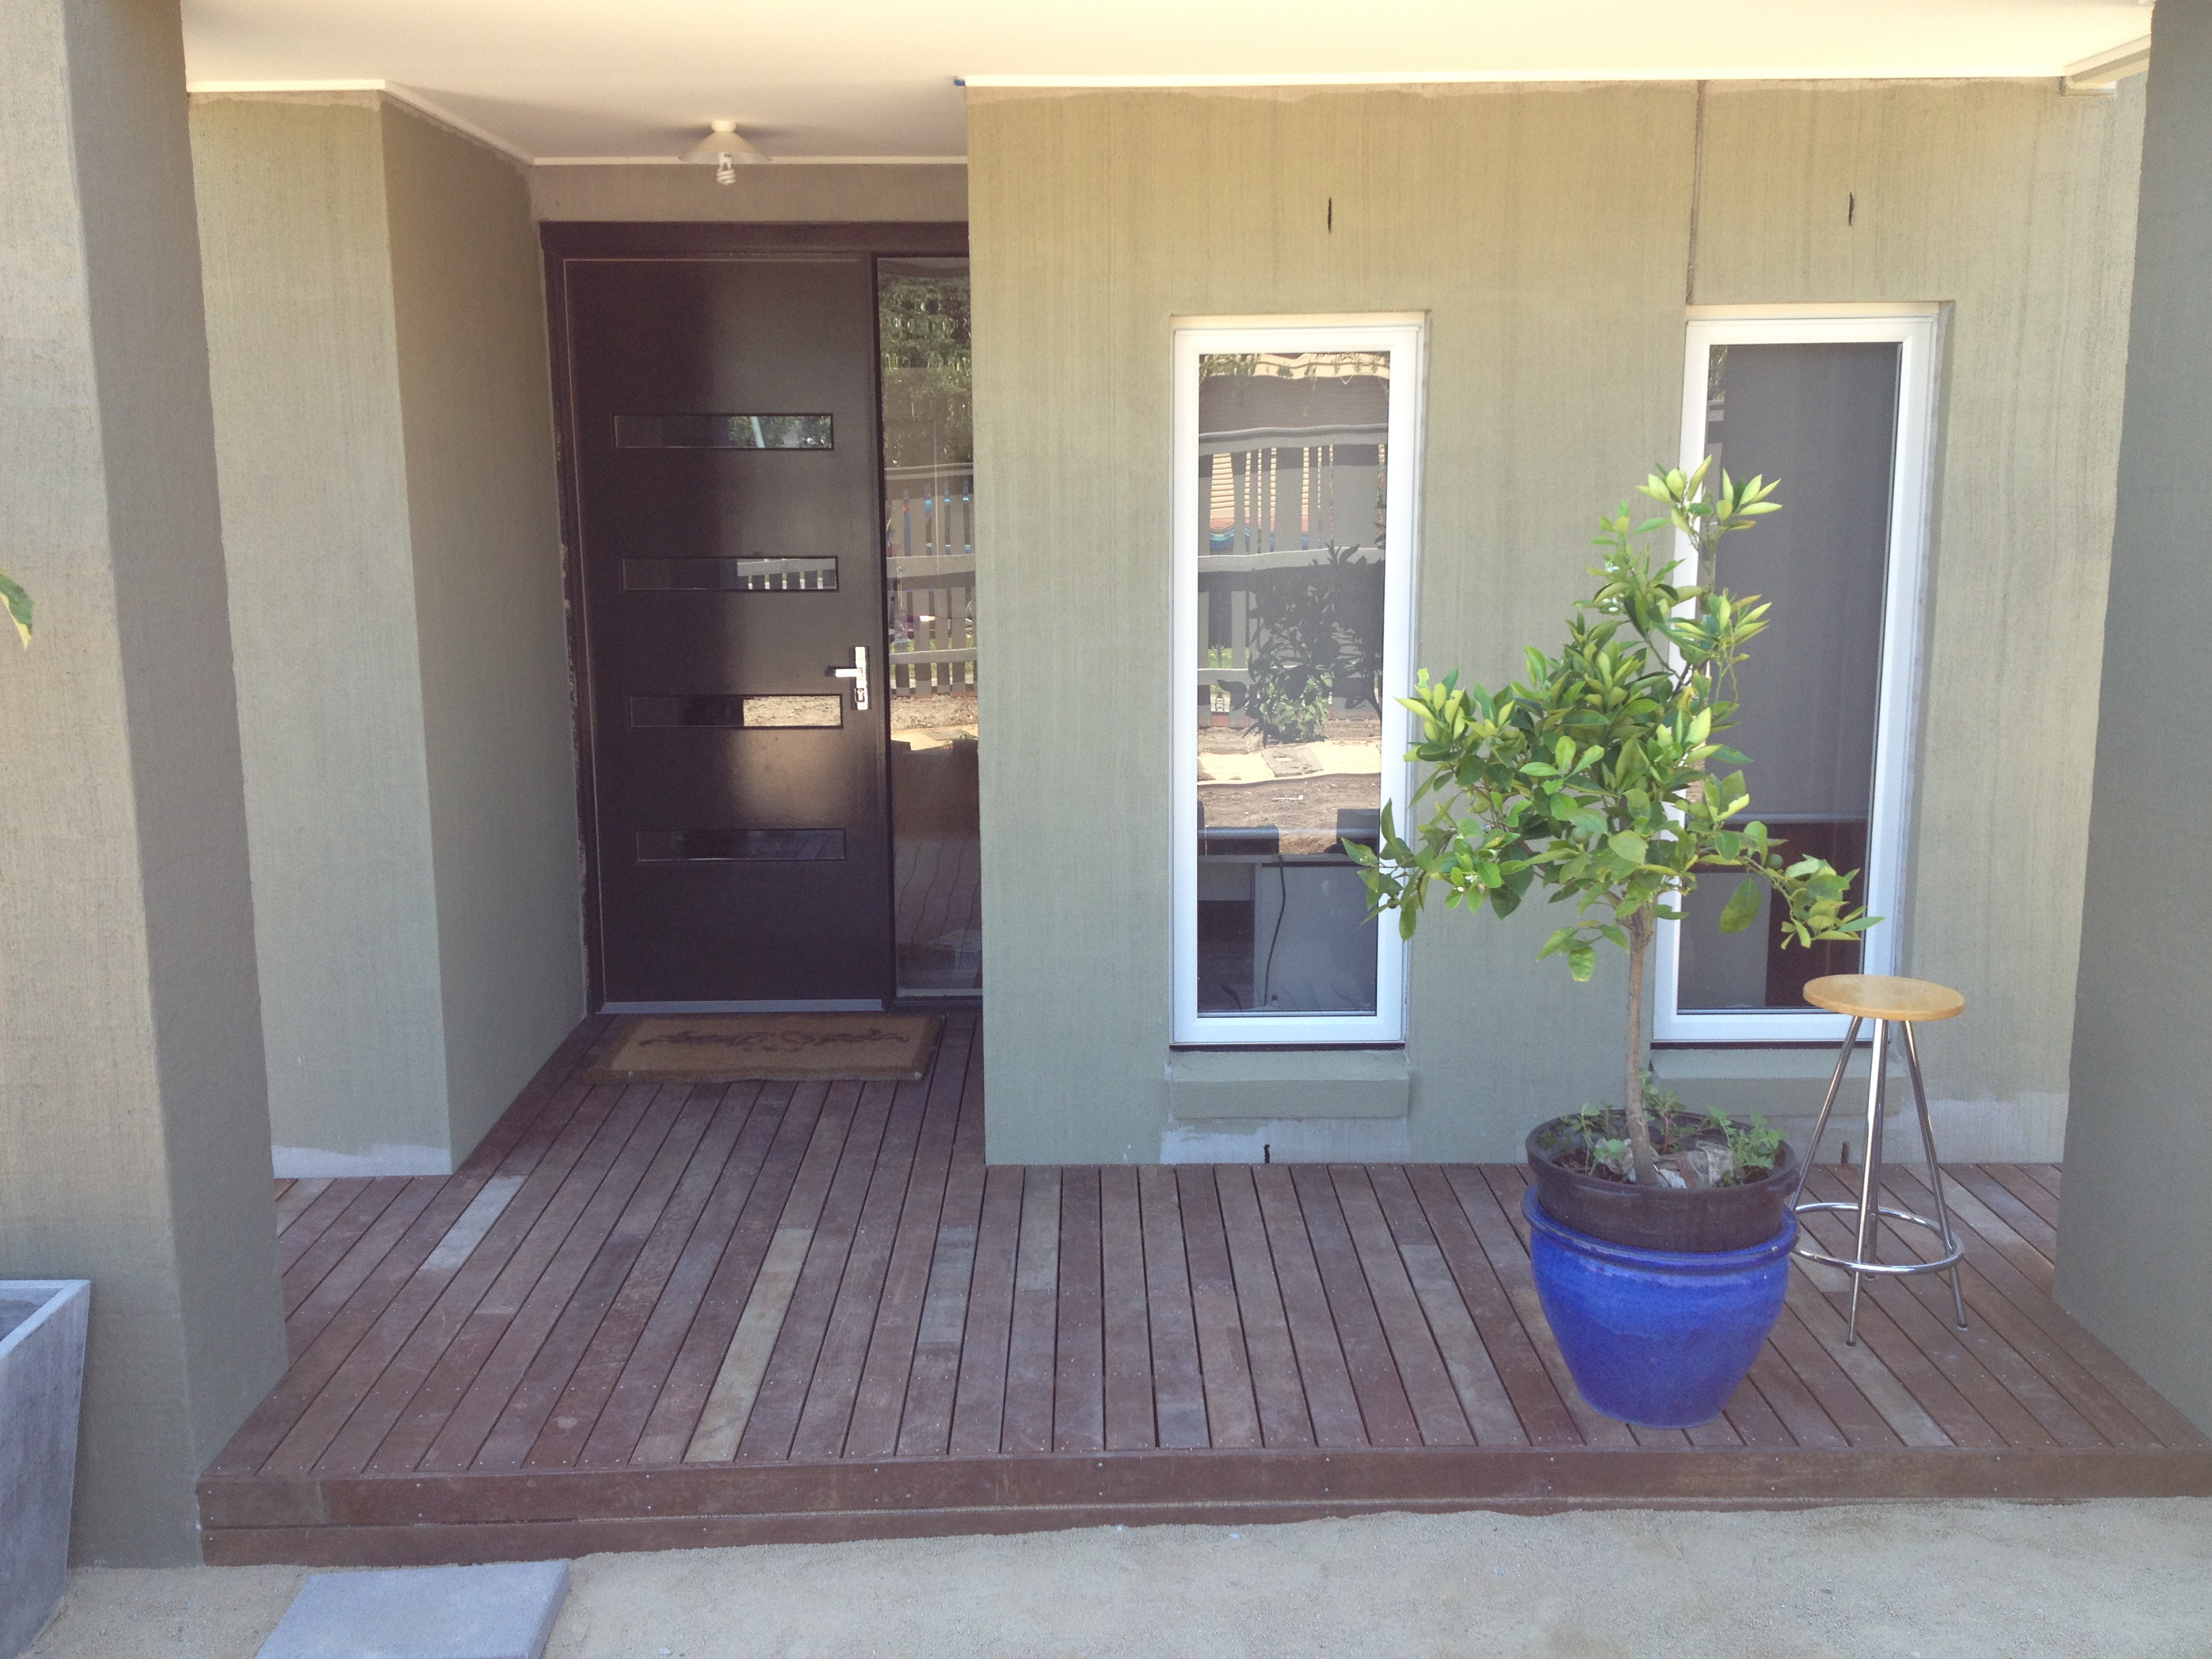
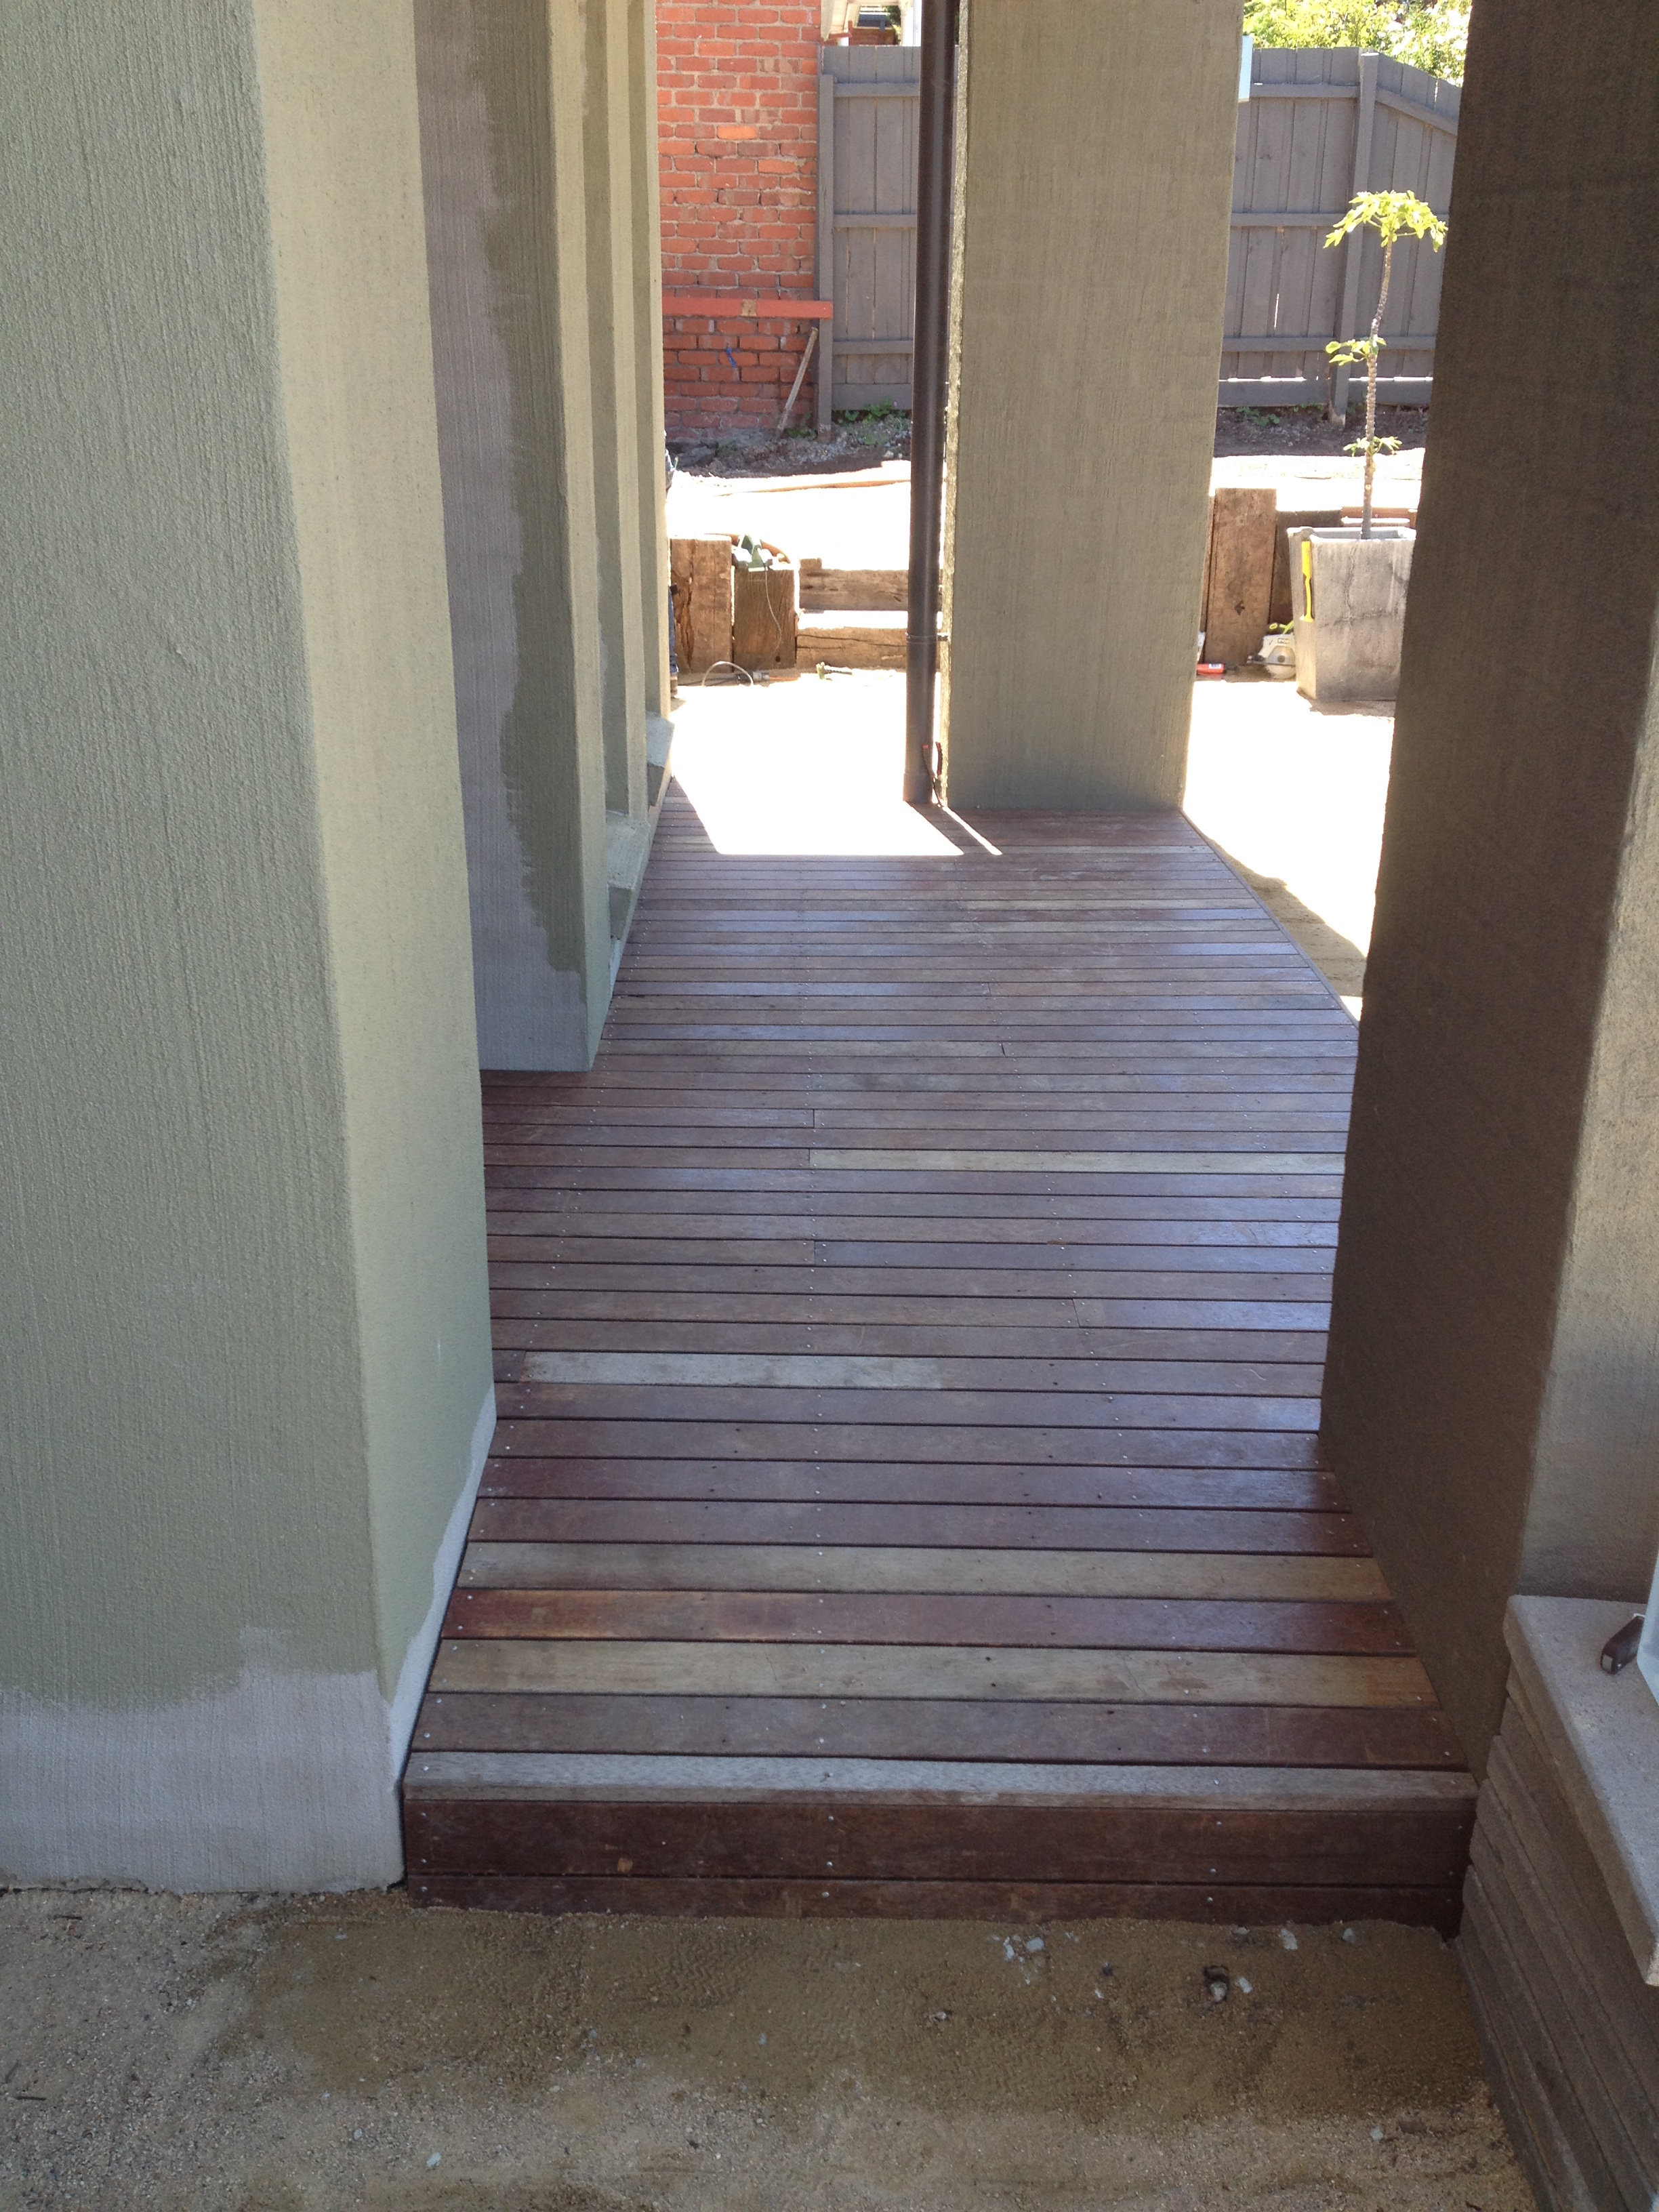
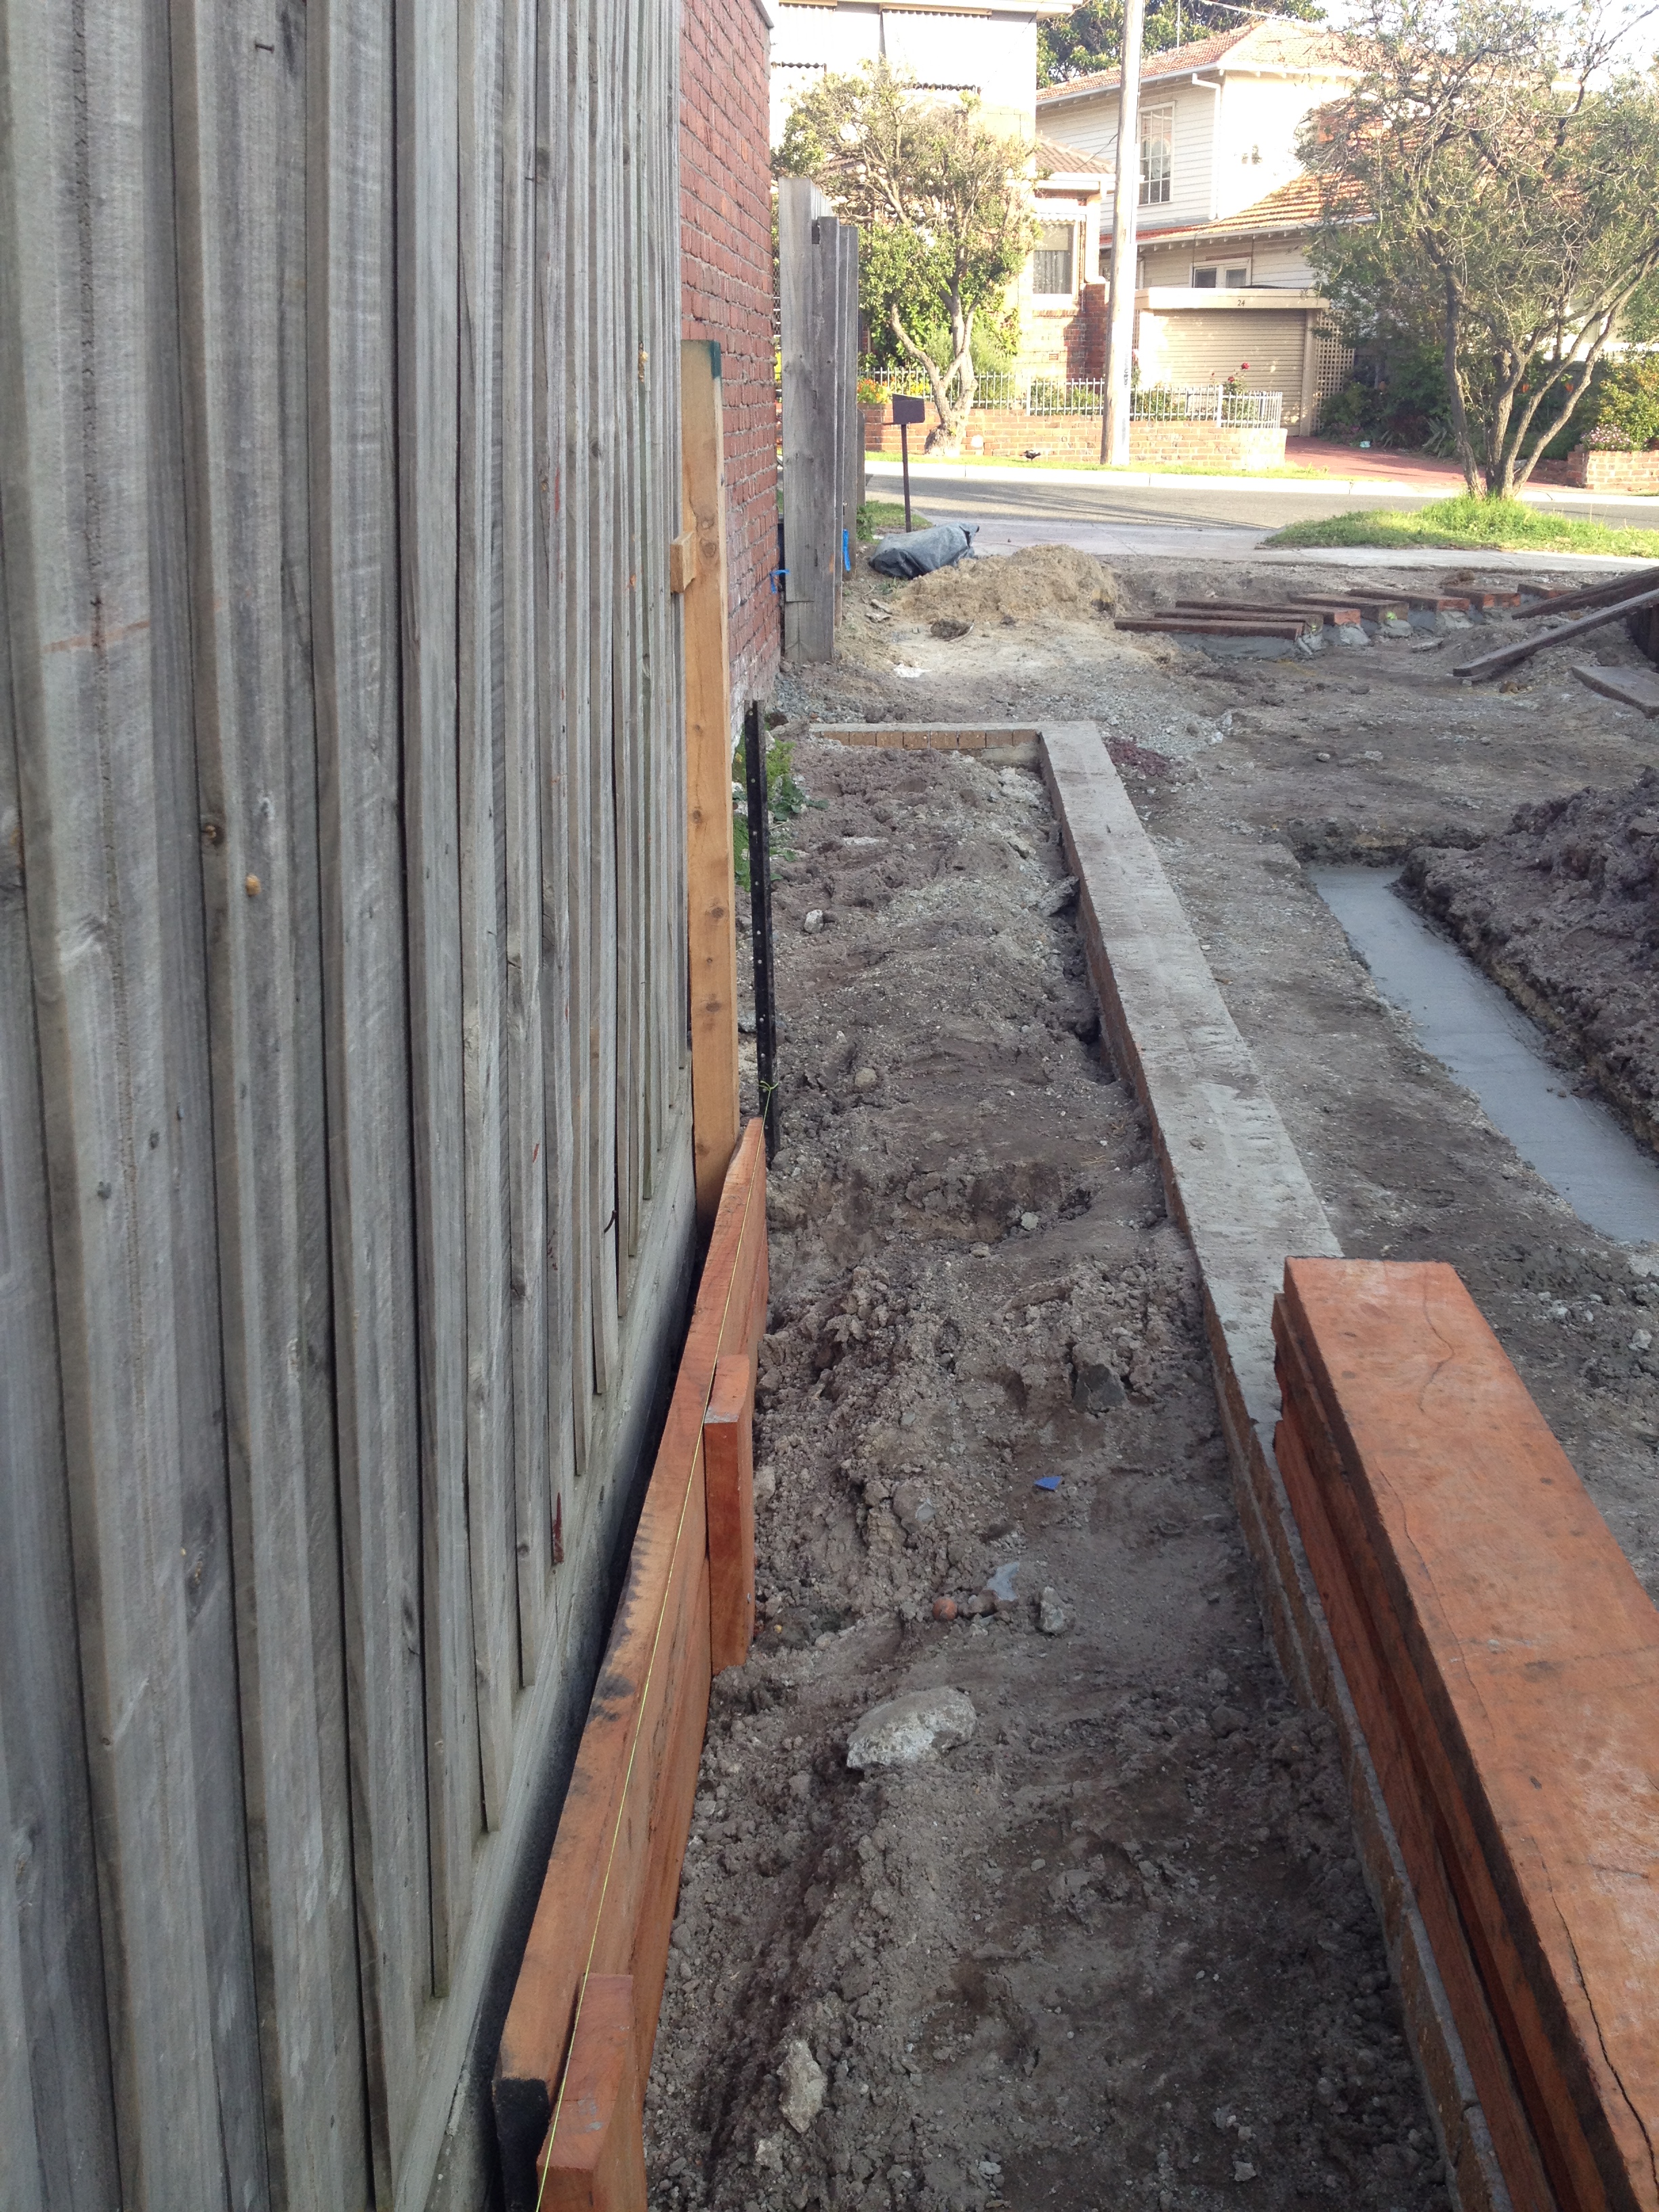
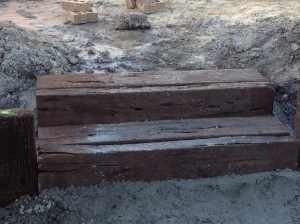
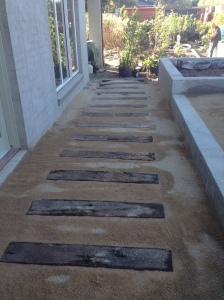
The steppers down the side are just a lovely. You can see the raised veg beds next to them. The steppers will lead to a lovely – and huge – merbau deck! I’m digging 40 posts on Saturday if anyone is free! (hehe).

IMG_3117

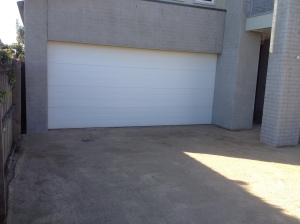
The front driveway is screened with Dromana topping. Its a fine sand that sets like concrete once it is wet and compacted by the car. We’ve got a heap of ag pipe underneath it to assist with drainage. I know a lot of people are against soft driveways, but I’ve always been a little bit different. We have a ‘no shoes’policy inside, so the sand grit wont’be a major issue!

IMG_3109

Another angle of the front stepper path and hidden garden. You can also see the soldiers standing tall. Love them! Best bit.

IMG_3108


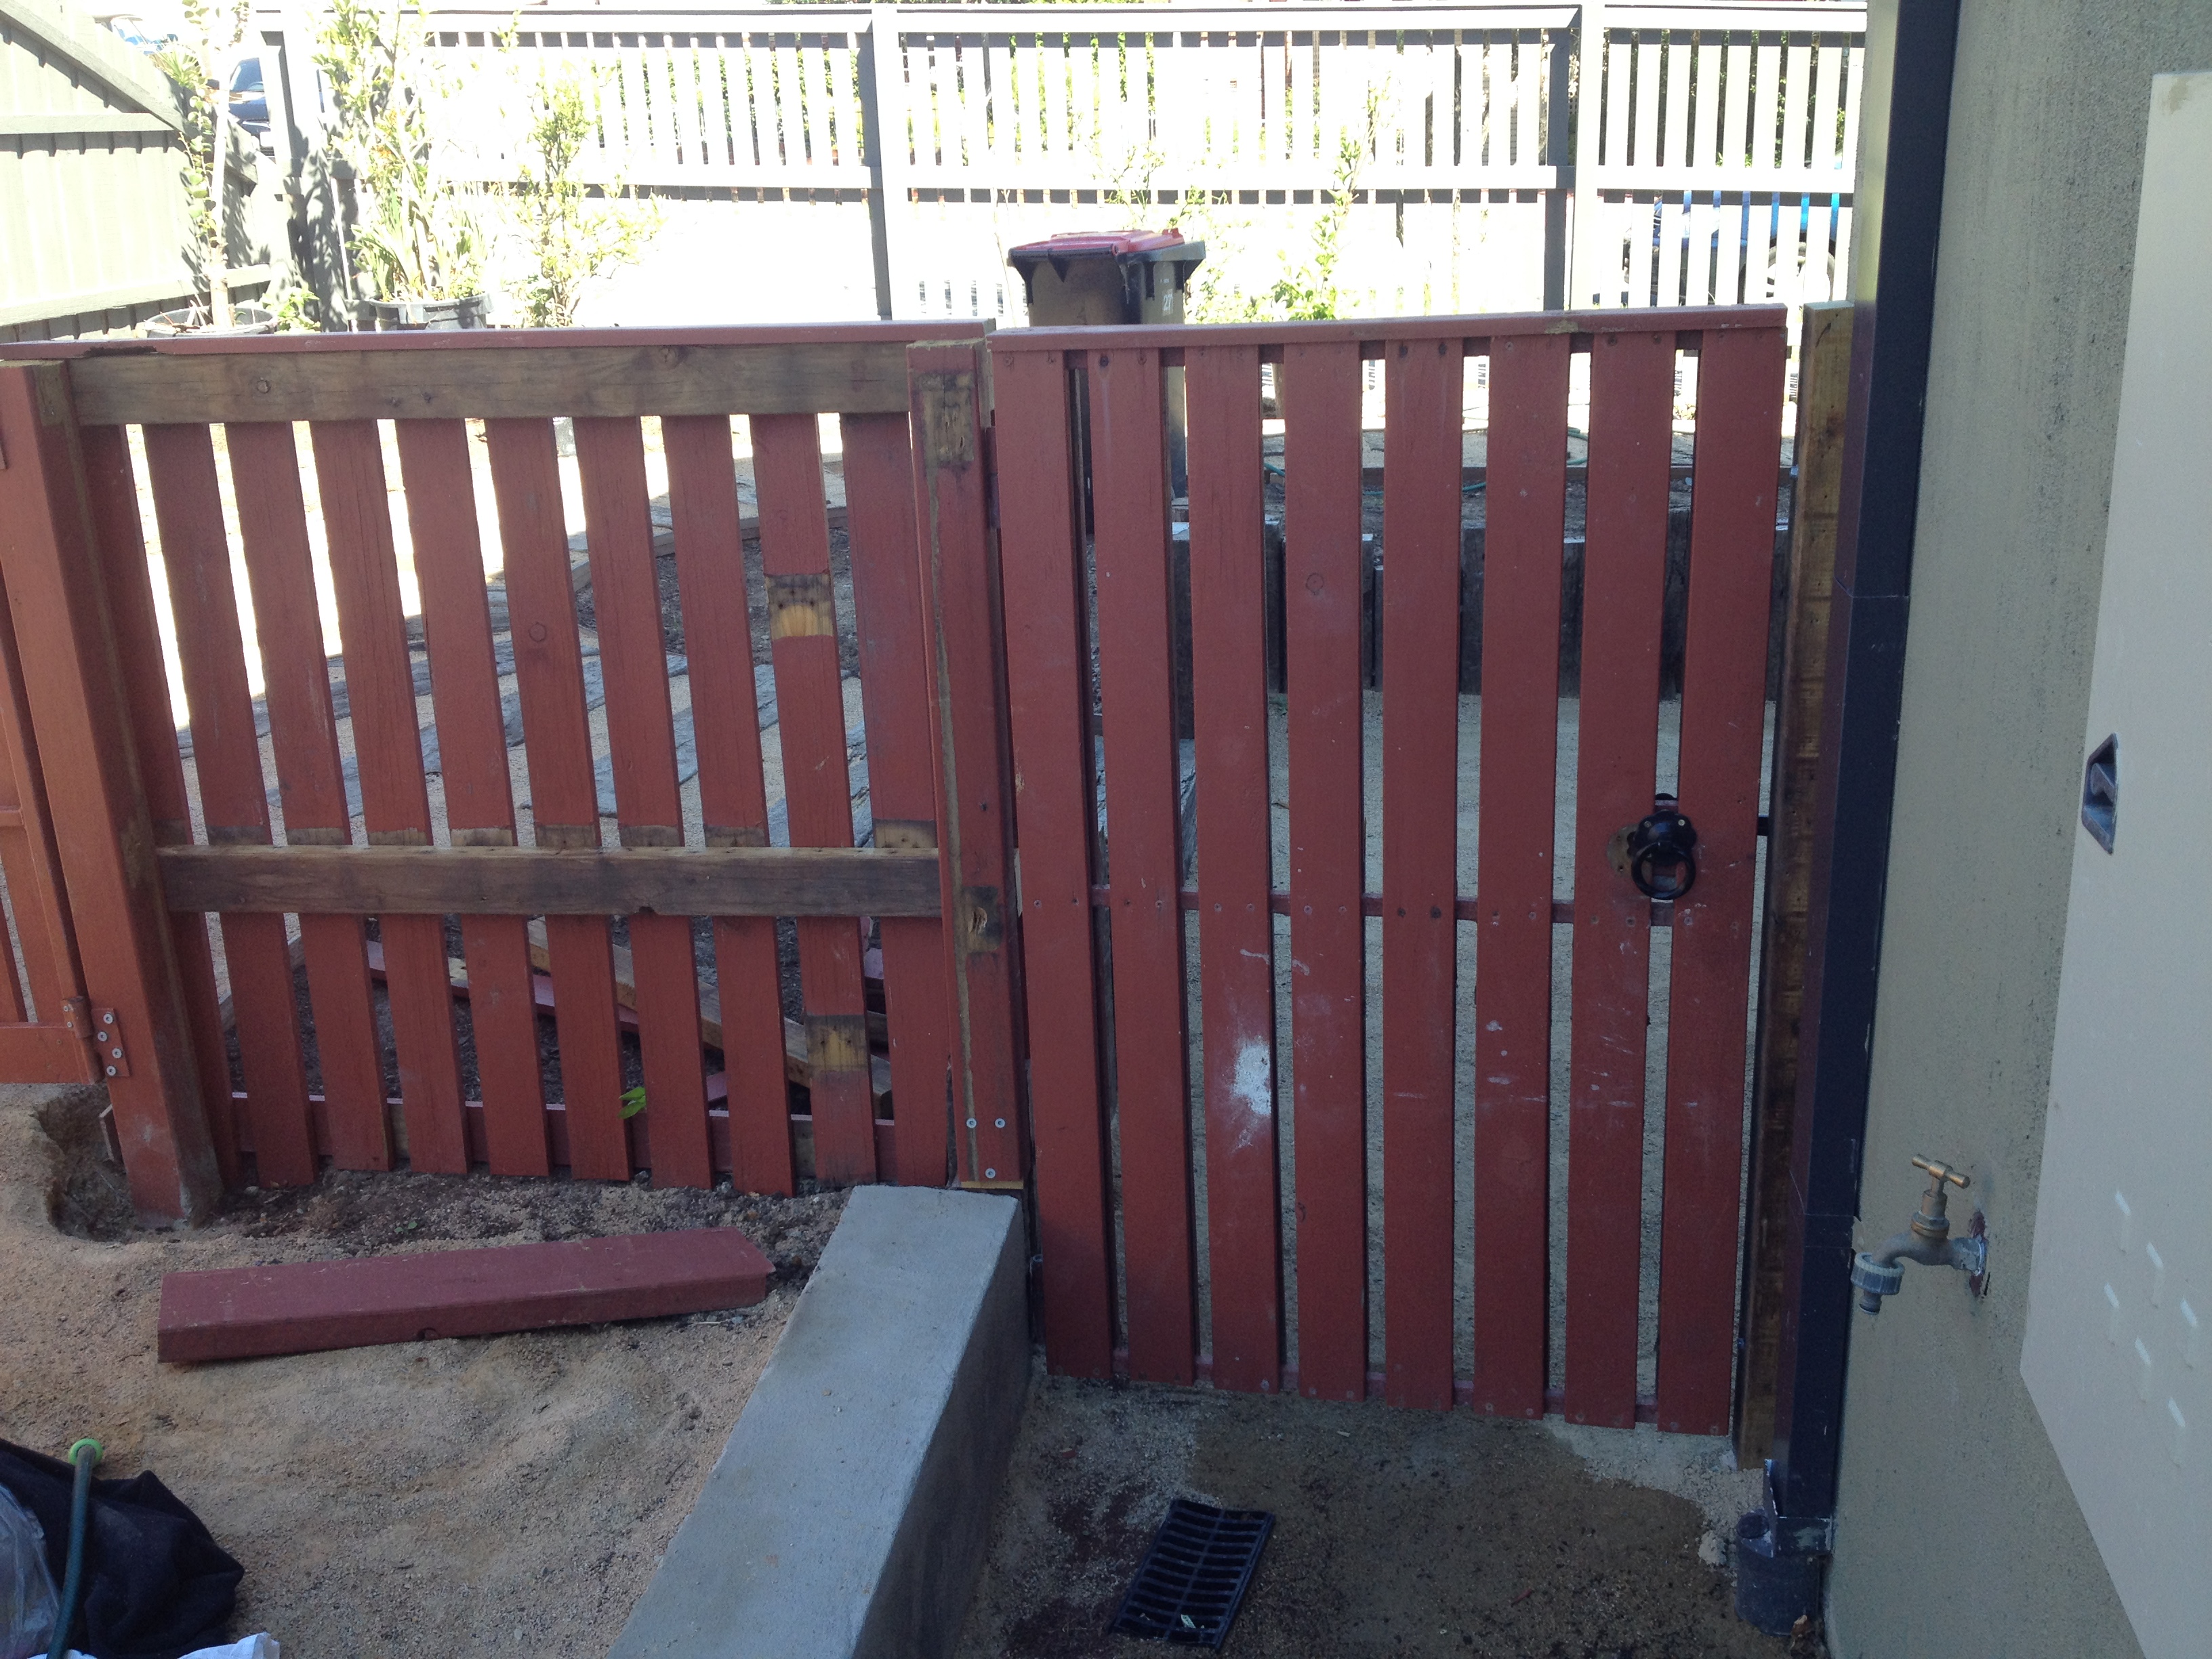
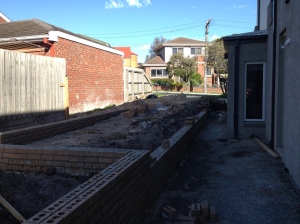
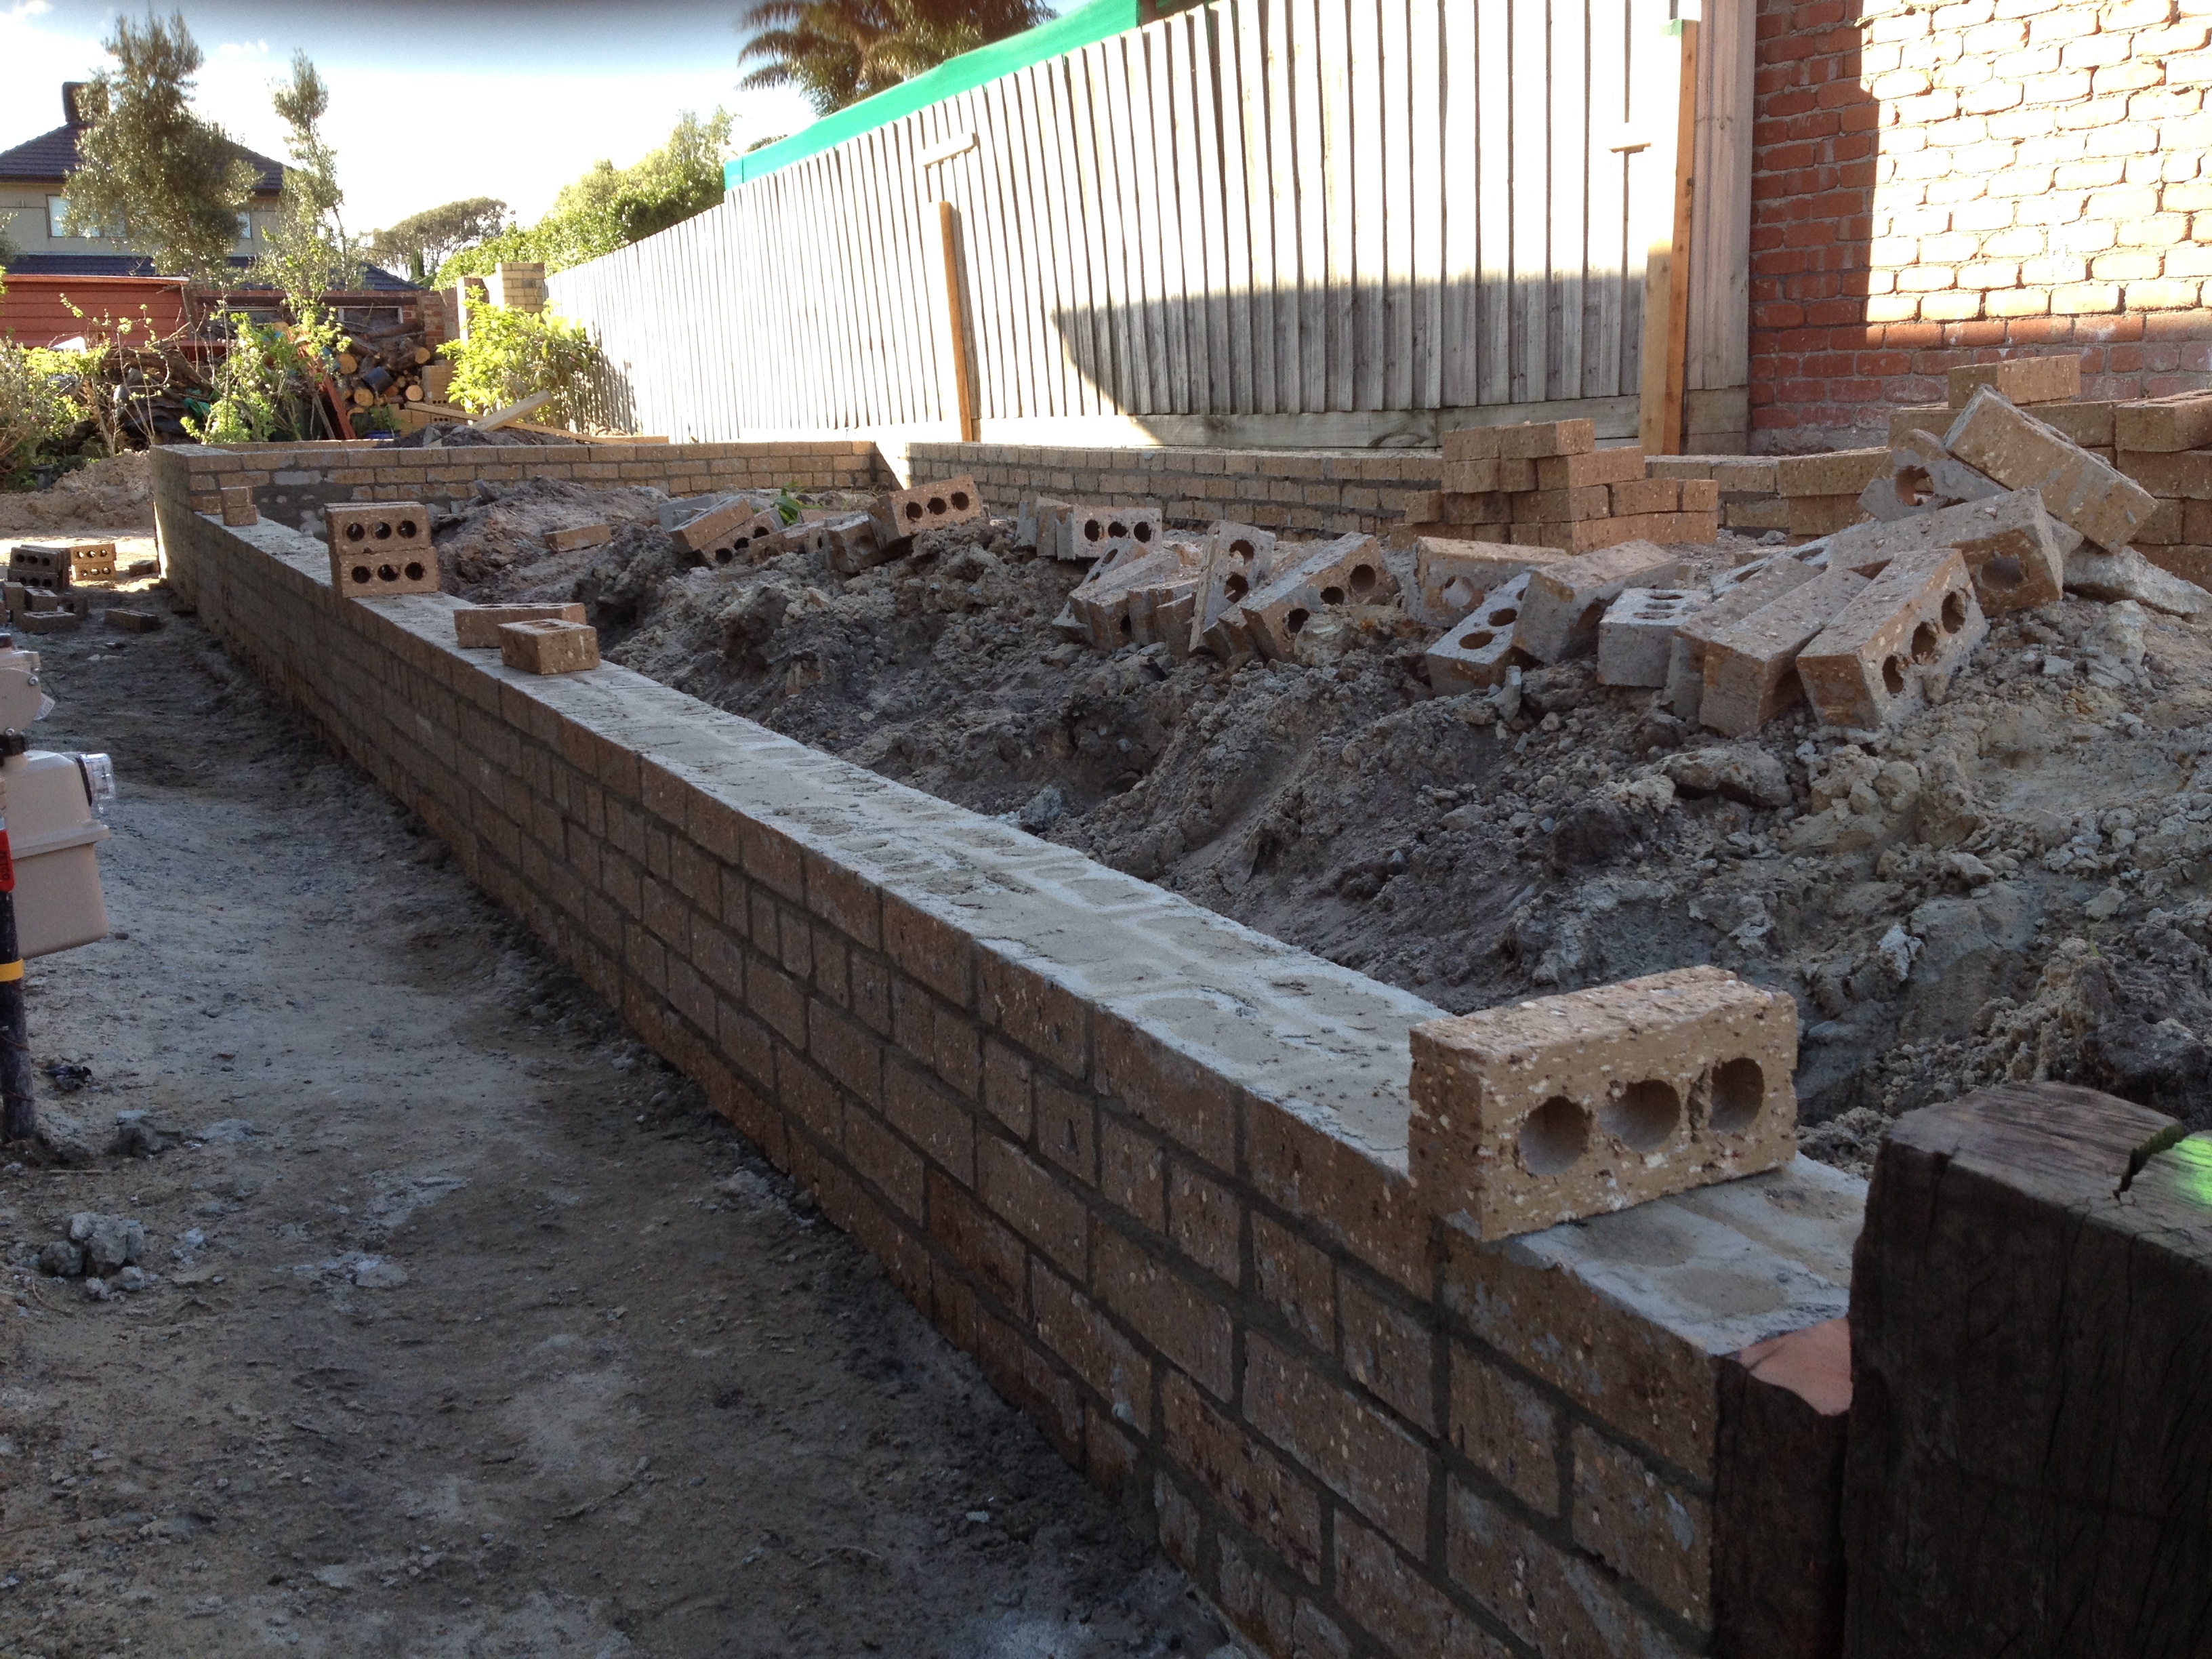
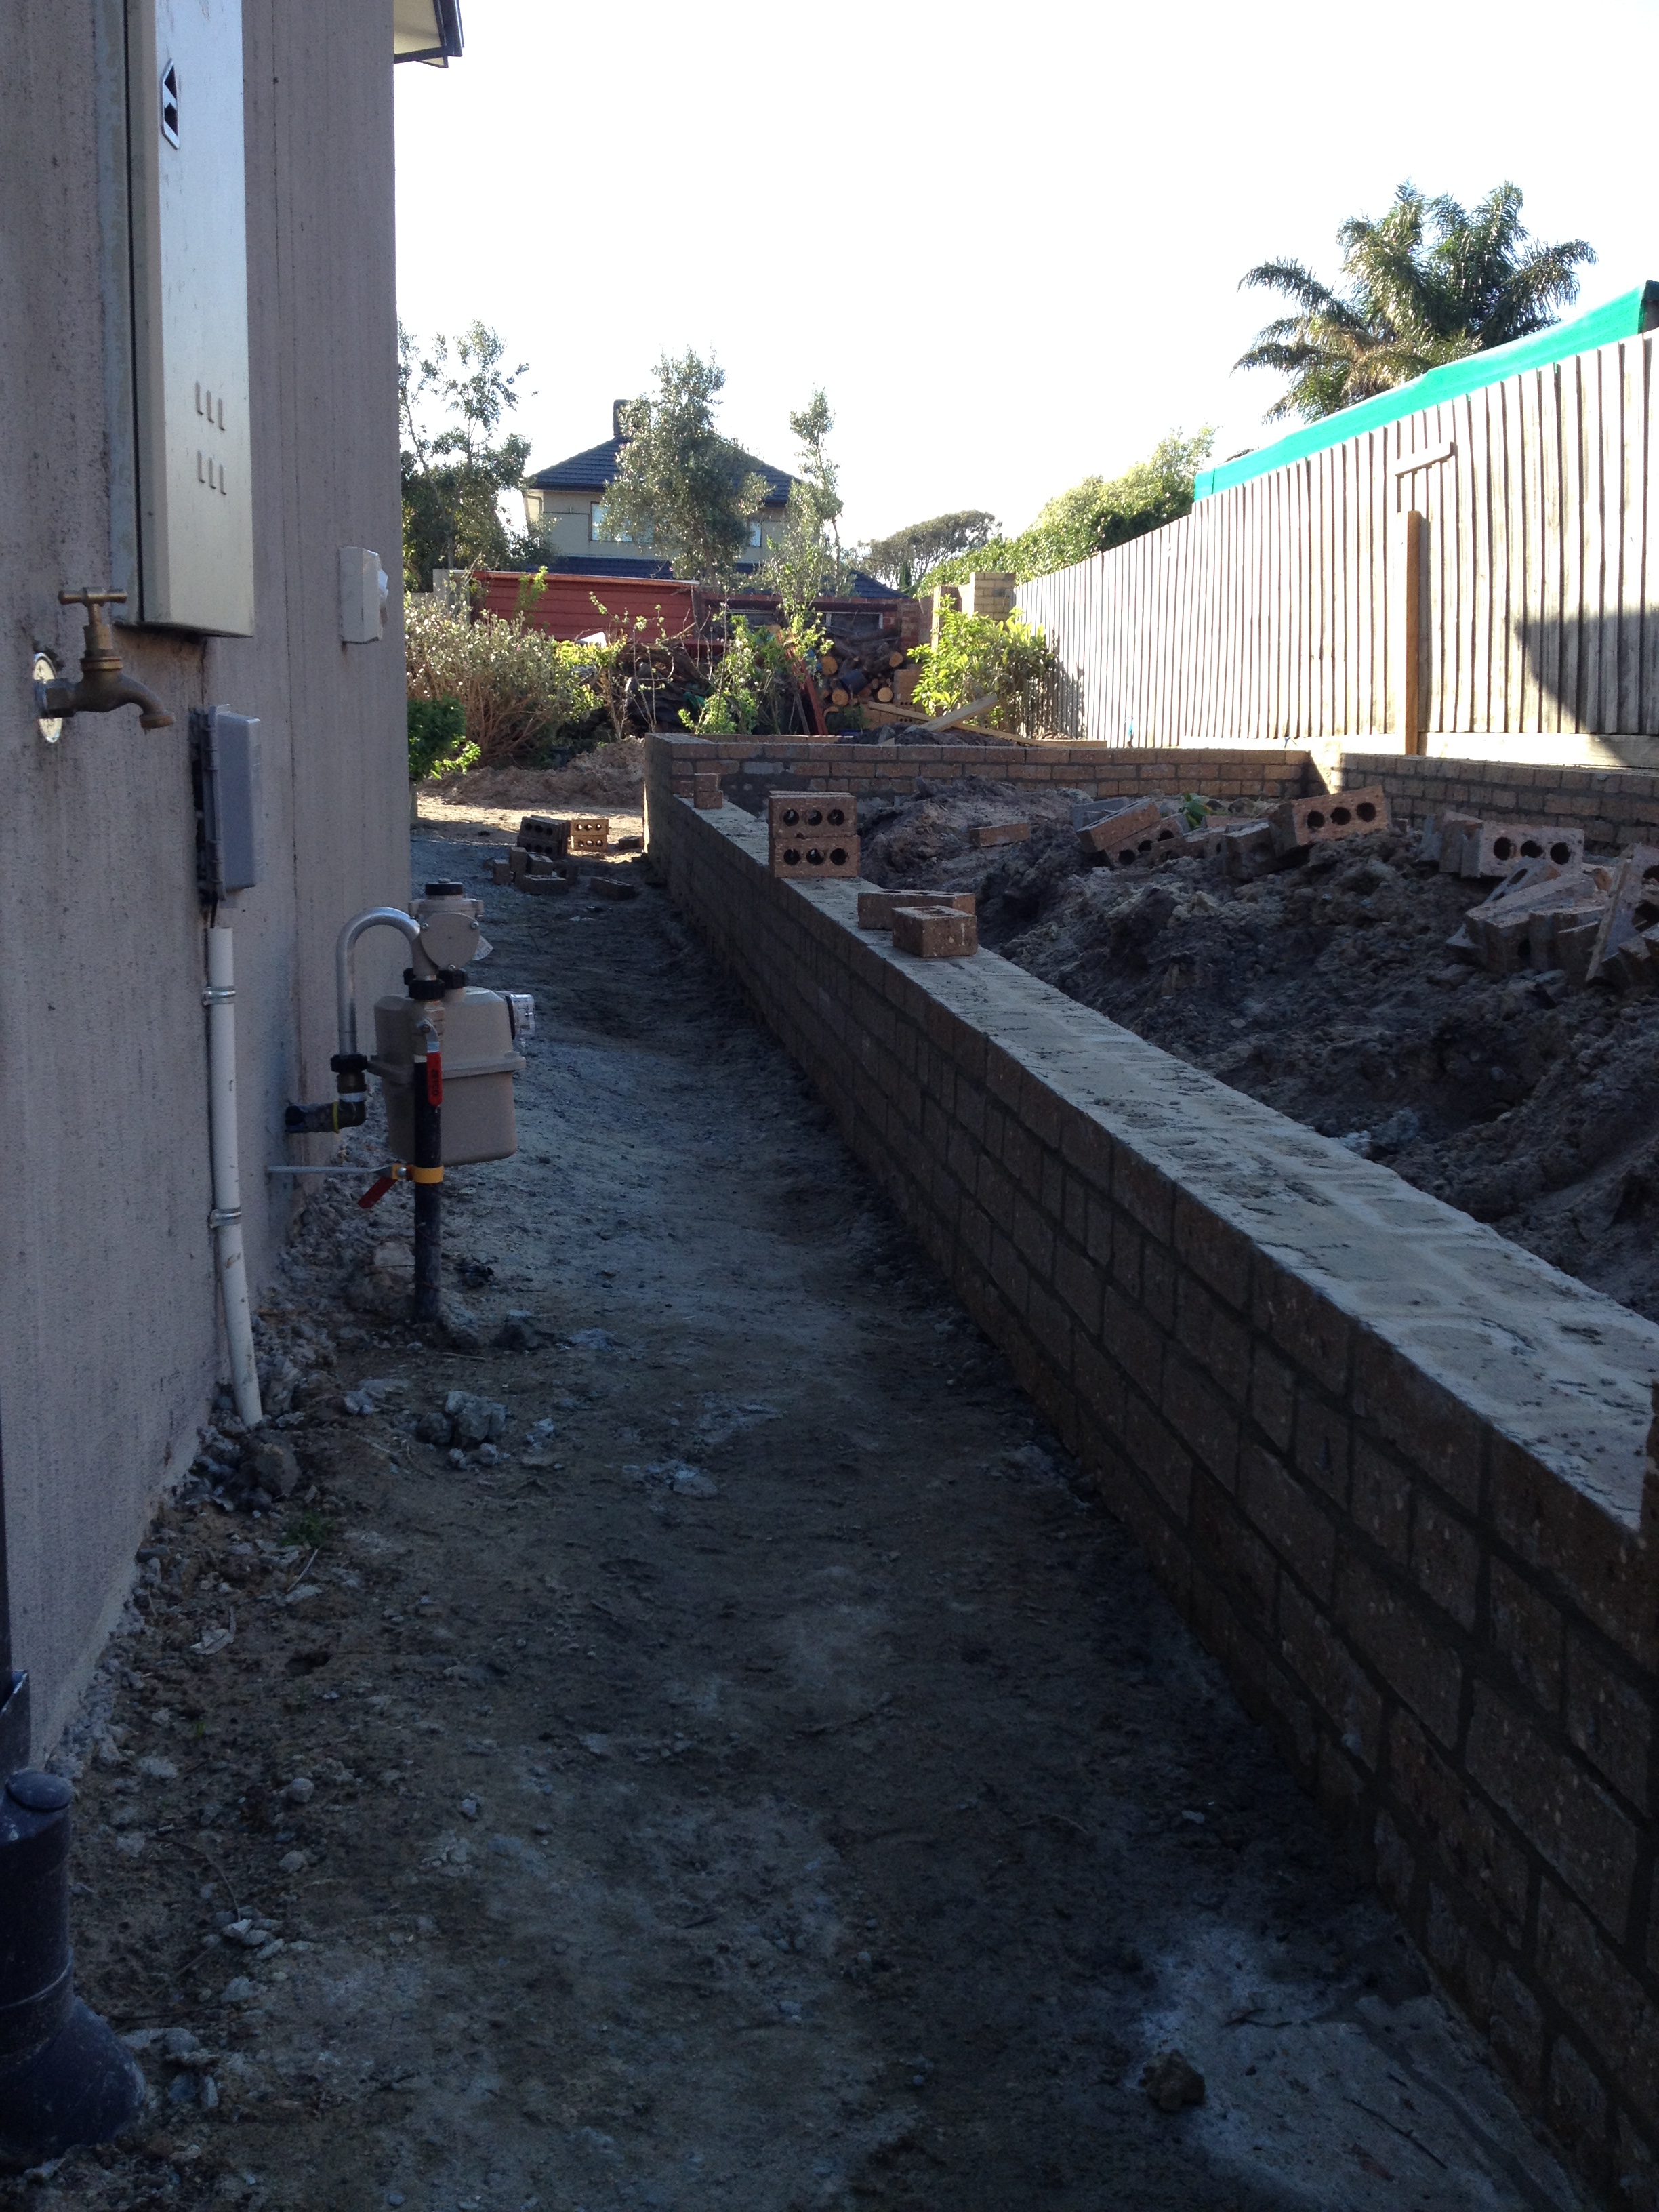
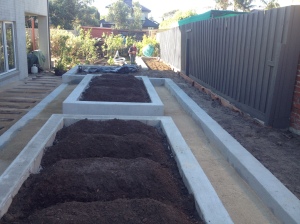
And here are all of my vegetable and raised beds. My 6000 bricks were put to good use. The bag also looks pretty cool. We have some special colours we will paint them very soon. Oh, and we’ve also painted the fence as well. Looks okay. The landscape team also created my furrows as a nice touch.

IMG_3116

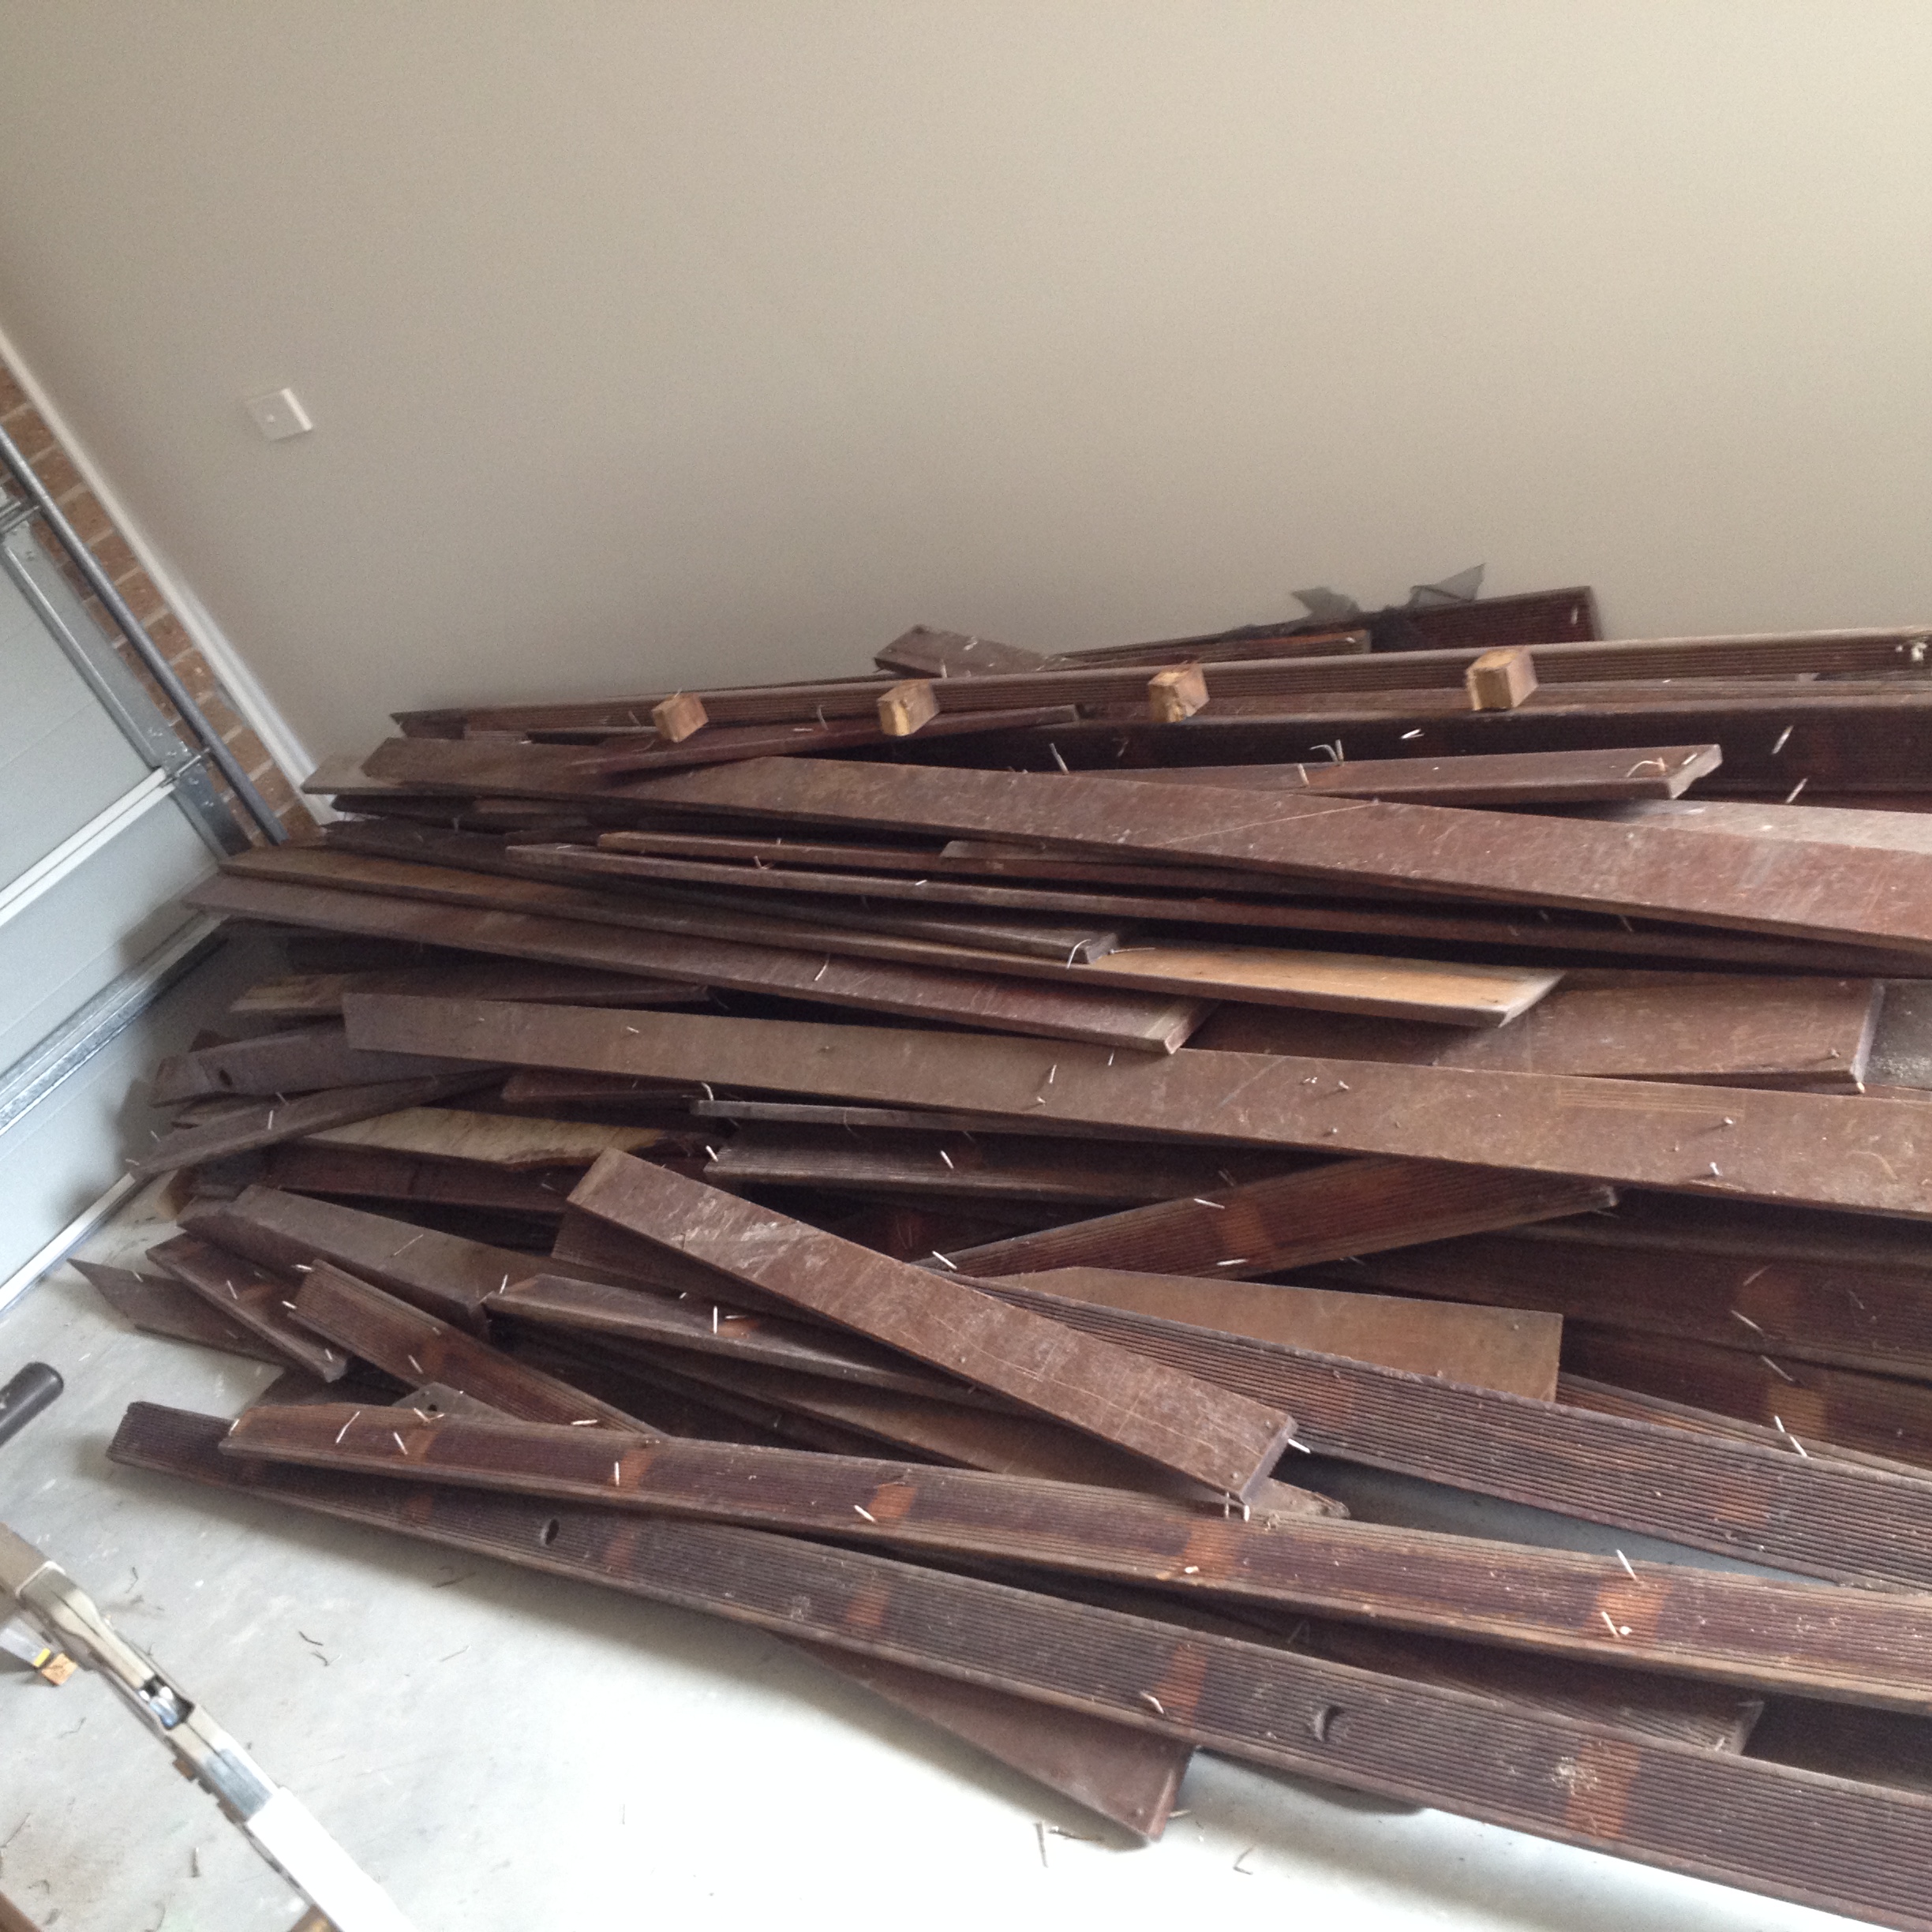
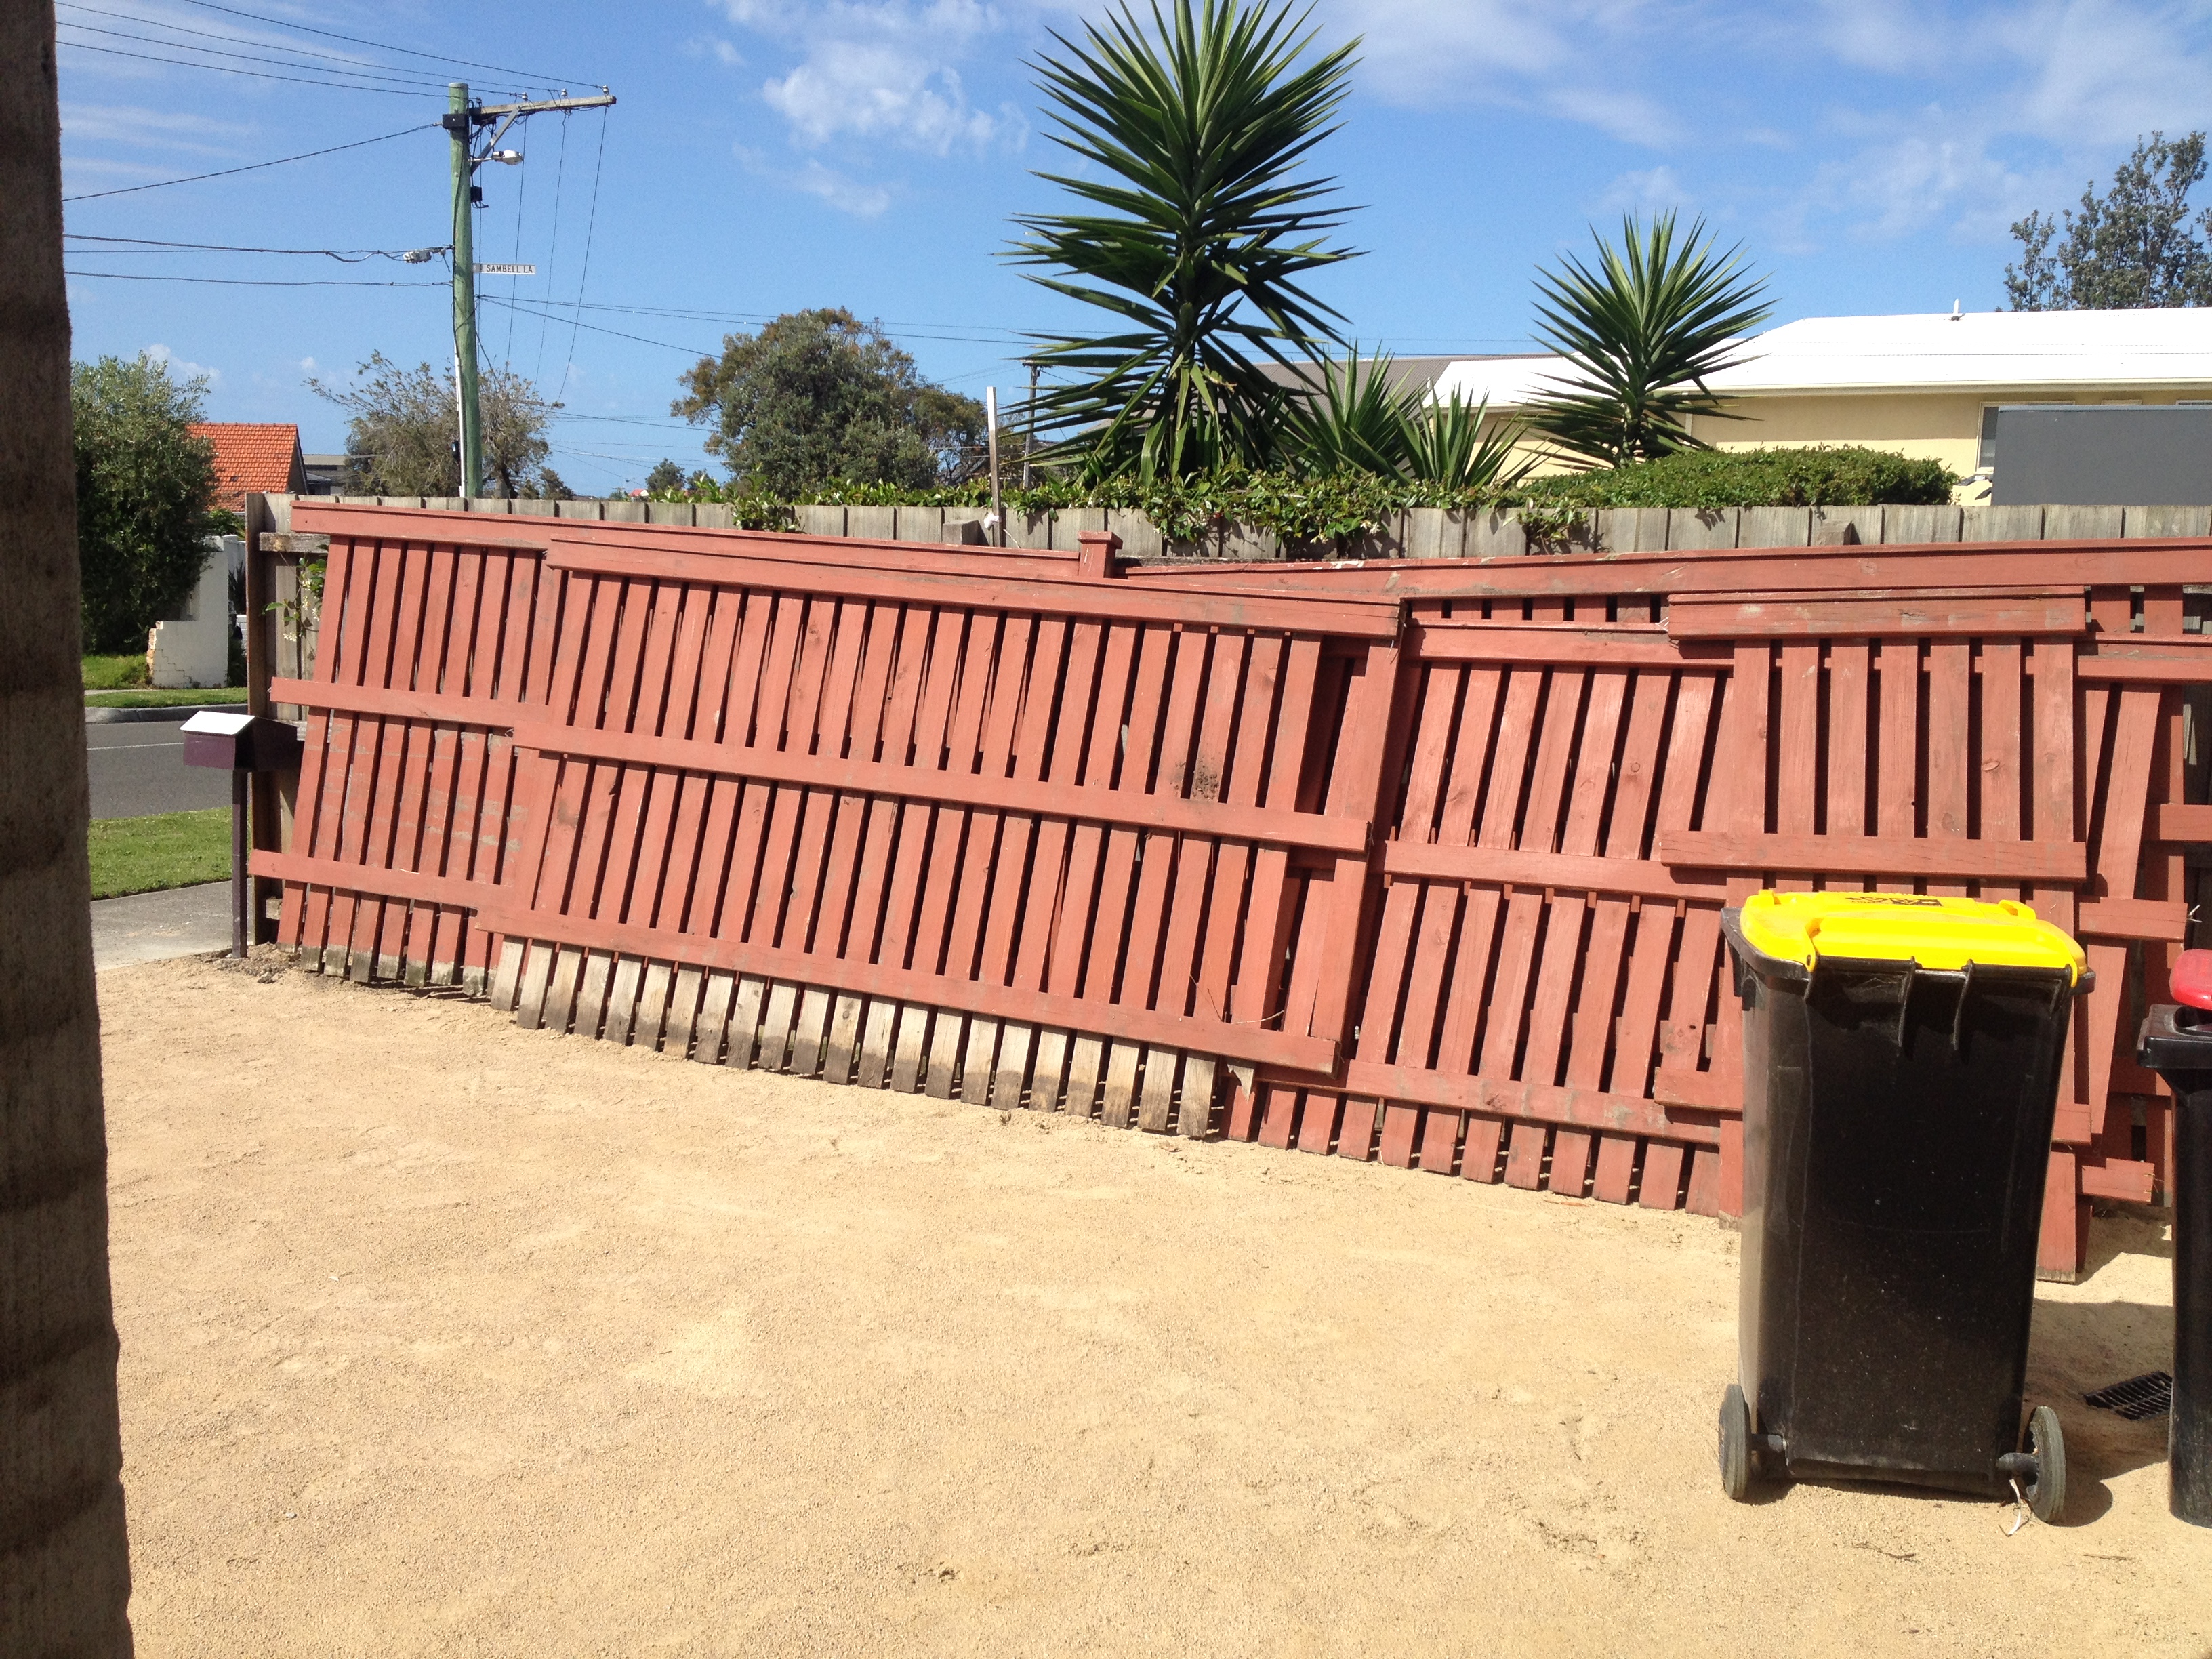
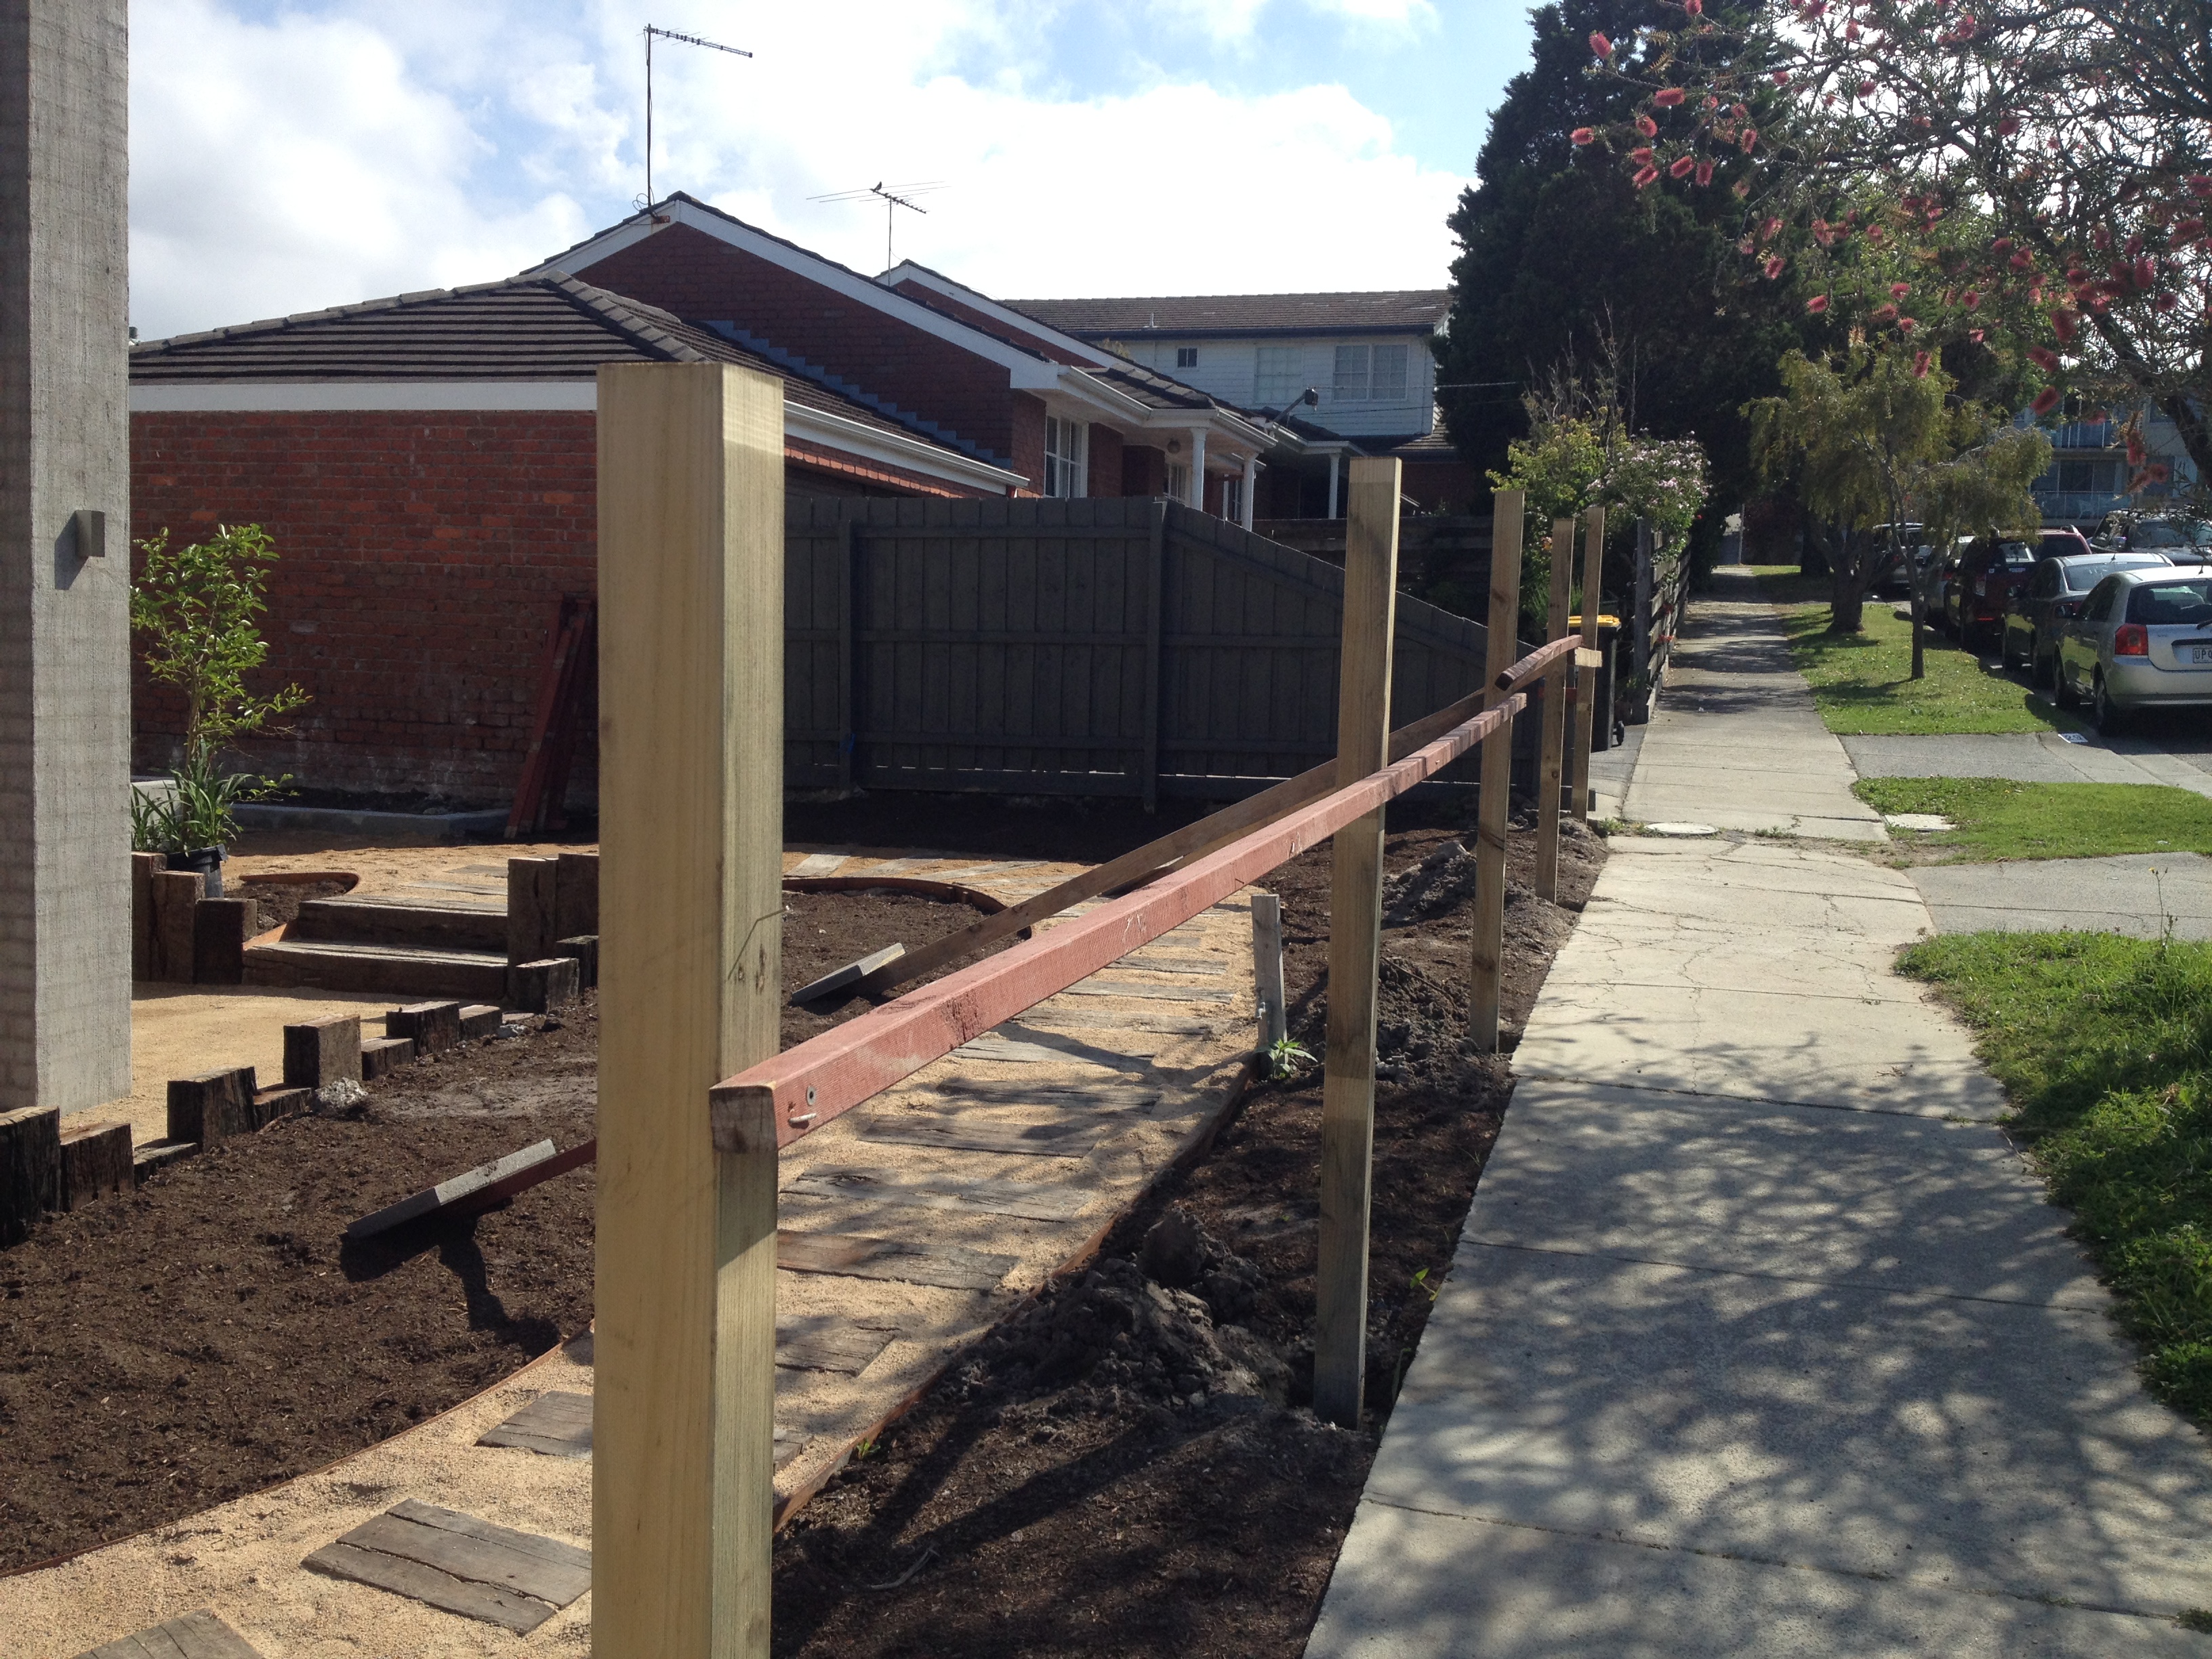
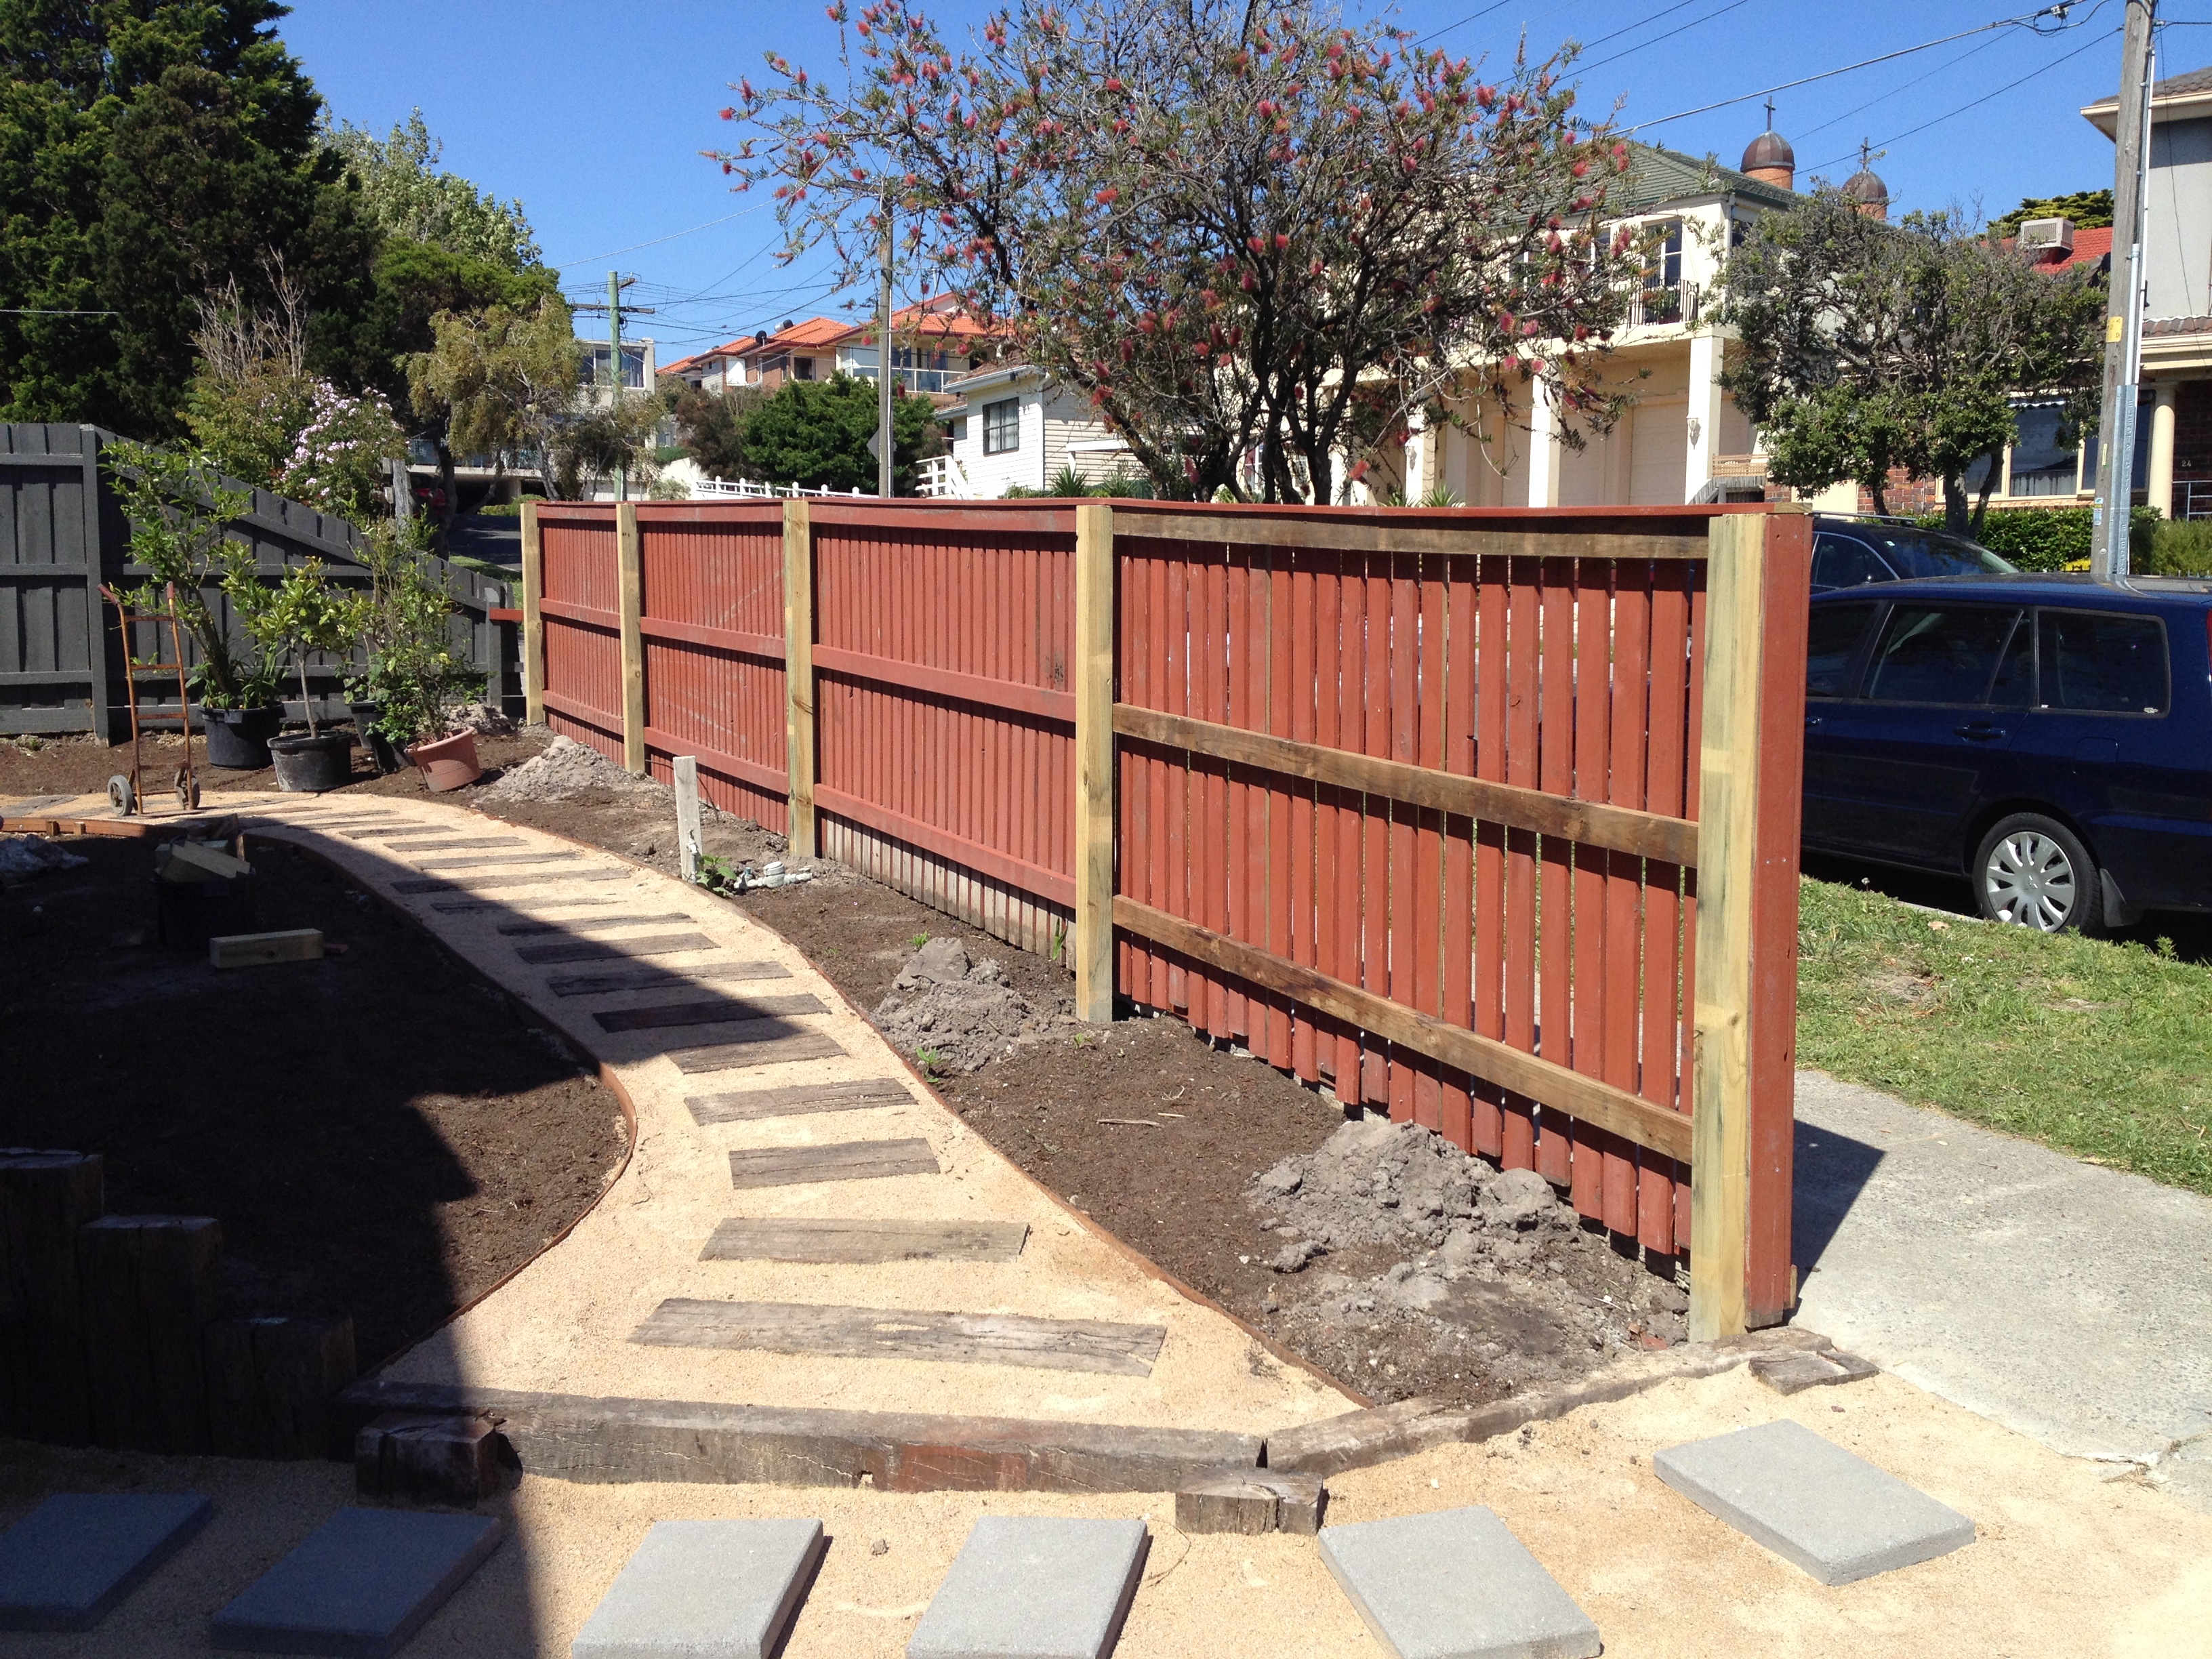
I’ll install the front fence this weekend – recycled from the old house. I’ll put in new posts, then staple the panels to the posts. It sounds easy, but anything could happen. I’ll also start digging my 40 posts for the merbau deck for anyone who is bored on Saturday!

The lawn has also been planted out the back. It is a lovely blend of 3 types of Rye and some bluegrass. It will be very soft, vibrant and not too invasive. I’m not a fan of those creeping lawns. I love seeding my own lawn. Takes a bit longer, but the result can be amazing! I’ll post a few more pictures once the edibles are all in their new homes. Very exciting times. Just not enough time in the day.

Landscaping – part 4

The landscapers were back (five of them) and they have done a super big day of work. They have laid the final footings for the raised vegetable beds.

They have finished the retaining walls (sleepers) and the soldiers. They have also dug all the ag drain trenches, laid the pipe, and filled with the special rocks that go on top for easy drainage. They also started laying another red gum sleeper edge around the fence so the soil in the garden beds won’t rot the fence.

They also laid all the steppers in my magic secret garden nook at the front. It looks hot. Just image it when it is hidden by berries and trees and a front fence!

It wasn’t in the original plans but we decided to be safer than sorry and build the garden for the long term. The good news is the concrete footings and pipe are already diverting water away from the house which is great news.

We’ve also chosen our topping for the garden. We really like the Dromana topping for its colour, texture and usability. We liked the Tuscan topping but were warned about stones in shoes and the fact that the bamboo floor will look like a stone scratch zone.

I found two massive tree stumps in the front driveway so I’ve got some stump munchers coming in next week to grind them to a pulp. They are in exactly the wrong spot – right where my cherry grove is going!

We have budgeted 10% of the total build cost for our landscaping. I think we’ll be right on the dollar – and if we are not, I’ll use any leftover dollars to buy more exotic coffee, banana and mango trees from Queensland.

Next week they’ll lay the last of the red gum sleepers beside the fence, the bricks and veg beds, bag the walls (I think) and they lay the weed matting and toppings. Then we’ll get in 10 cubic metres of mountain soil.

IMG_3038 IMG_3021

IMG_3005

Landscaping – part 3

The bricky team came and conquered the footings after given them some time to dry.

The team ate up all of my 6000 bricks like they were child’s play.Here I was thinking I’d have heaps and be able to sell them on ebay! In fact, I think I will be short about 2000.

2014-10-10 17.11.03

A shot of how I hope the finished product will look.

a973d021754b380098b9a987cebed7cf

The main garden beds were laid inside a day. We have one wall to go and the two main inner vegetable beds.

The de-nailing of the old merbau is taking forever! I keep thinking of the savings, but doh! what a job!

2014-09-28 14.08.18


The bricks were double laid to give my beds some extra strength. It also means that all of my walls now double as seats!

It is quite confronting to go from soil to hard cold brick walls; they’ll be bagged and painted, but suddenly the joint looks like a building site and pretty darn ugly. But the garden vision is emerging from the earth. We are getting there….slowly.

2014-10-10 17.17.01

2014-10-10 17.17.05

2014-10-10 17.16.51

Meanwhile, all my fruit trees in pots are in full flower. I do hope I can hang on to some of the fruit in the pots.

But so many more jobs to go:

  • Finish the brick wall,
  • ag pipe to side and front,
  • Brick up the two garden beds,
  • finish the sleeper wall at front
  • Remove two tree roots and grind down
  • lay the red gum stepping stone pavers to side and front
  • Lay weed matting to all
  • Lay tuscan toppings to driveway and side
  • Deliver 10 cubic metres of soil and fill beds
  • lay all irrigation pipes for the drip system
  • Bag all garden beds to match house
  • Reinstate front fence
  • Build merbau landing deck to front of house
  • Build rear deck to house using recycled materials
  • Build rear garden beds
  • Sow lawn to rear of yard
  • Paint fence woodlands grey
  • Plant trees